

let's start,🚀
!! At first we need to understand about Microservice-Architecture !!
what is Microservice-Architecture ?🤔
Ans :- In simple word, Microservice architecture is a software development approach. Each service is self-contained, meaning it can be developed, deployed, and scaled independently of other services.
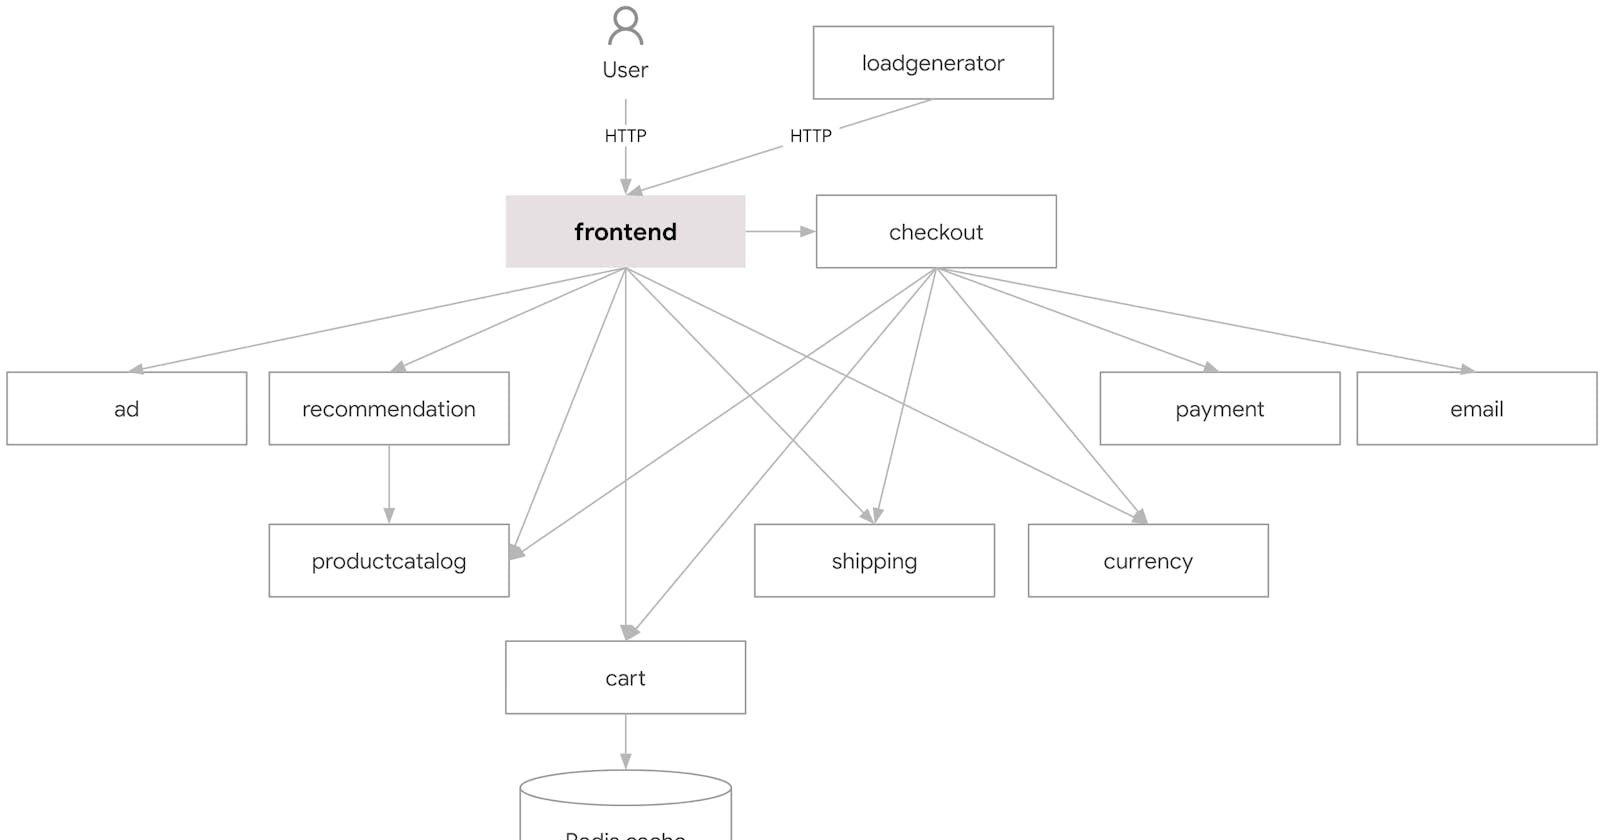
In this project we will deploy a e-commerce web app inside our EKS cluster
| Service | Language |
Go |
C# |
Go |
Node.js |
Node.js |
Go |
Python |
Go |
Python |
Java |
Python/Locust |
This are the microservice components
Make this components individually deployable using microservice-architecture approach.
🚀🚀🚀
🛠️ 𝗣𝗵𝗮𝘀𝗲 𝟭: 𝗦𝗲𝘁𝘂𝗽 𝗜𝗻𝗳𝗿𝗮
- we need a server where we will setup our Jenkins for ci/cd , Eks-cluster for deployment and SonarQube for code checking.
step-1
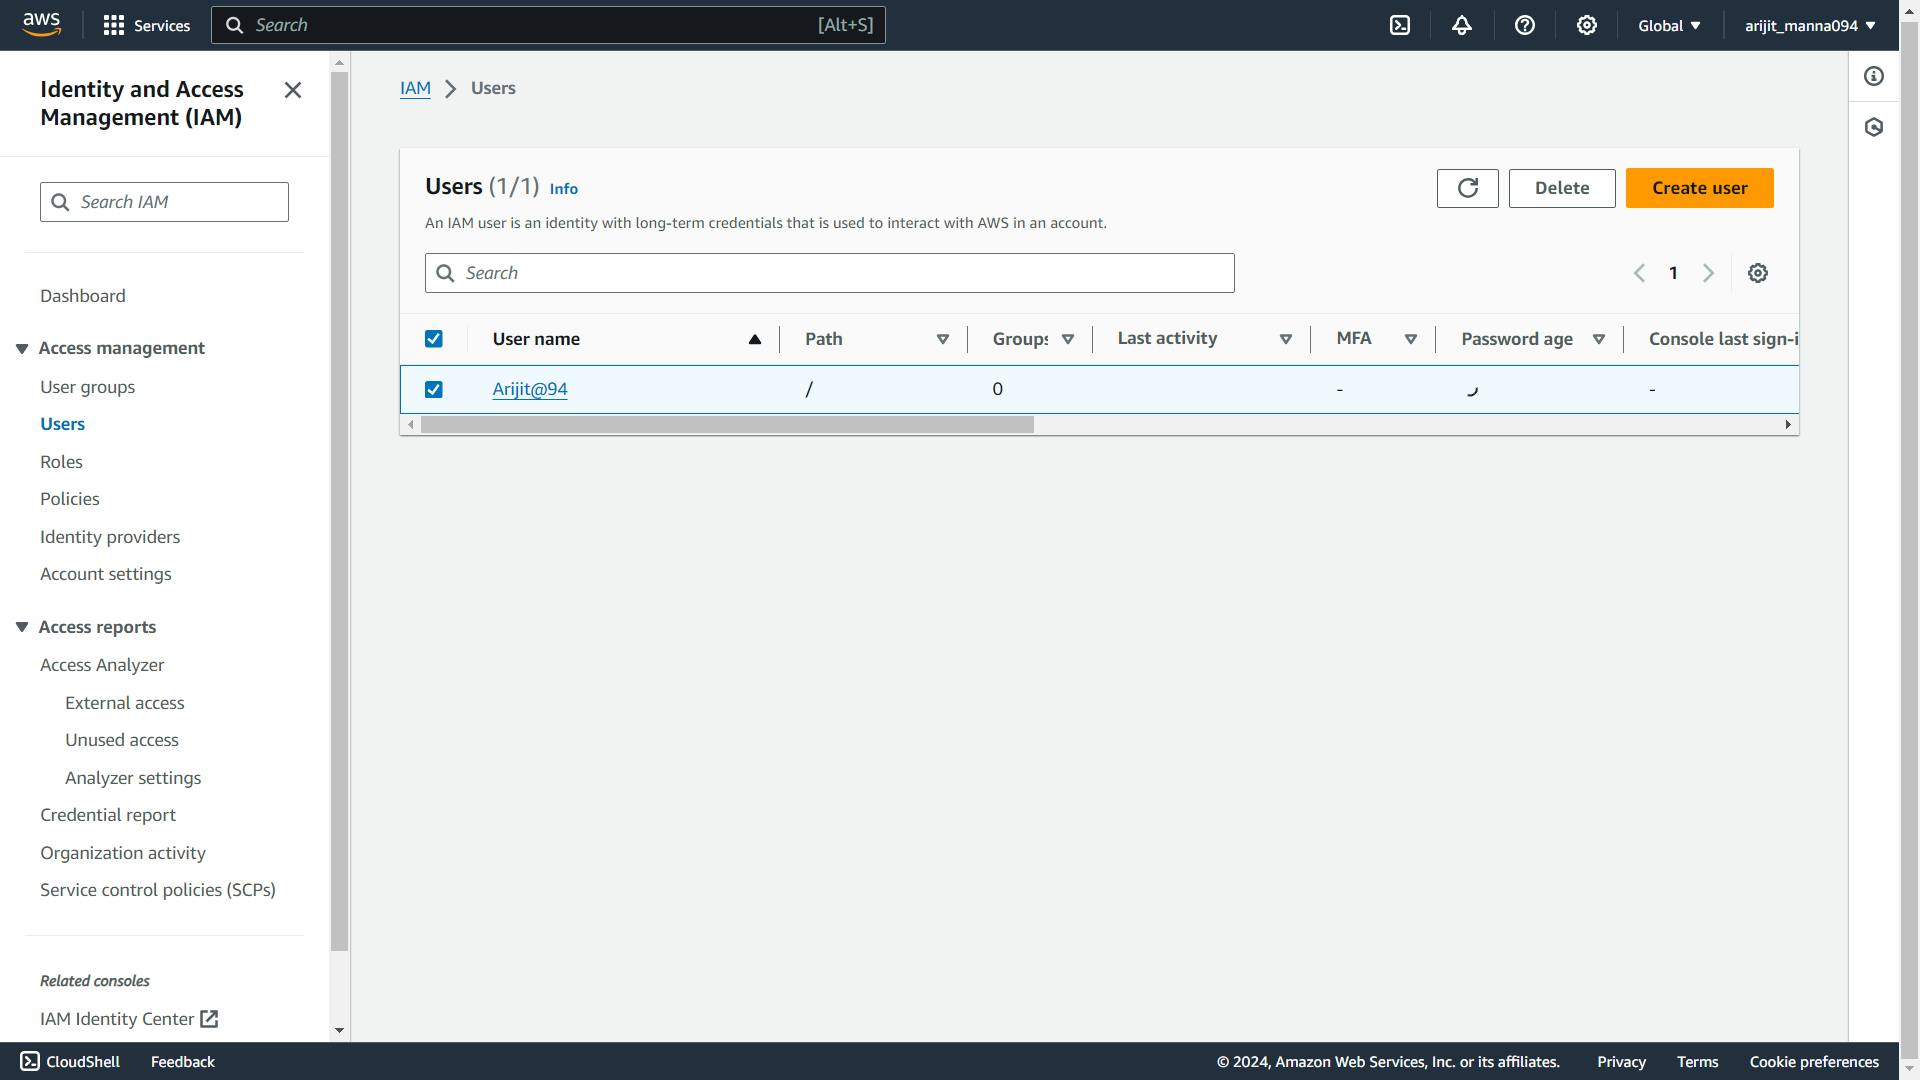
Create IAM User :
1. go your Aws console and search for IAM and click on it.
2. click on user and then create user and give user name and set password for login into Aws console.
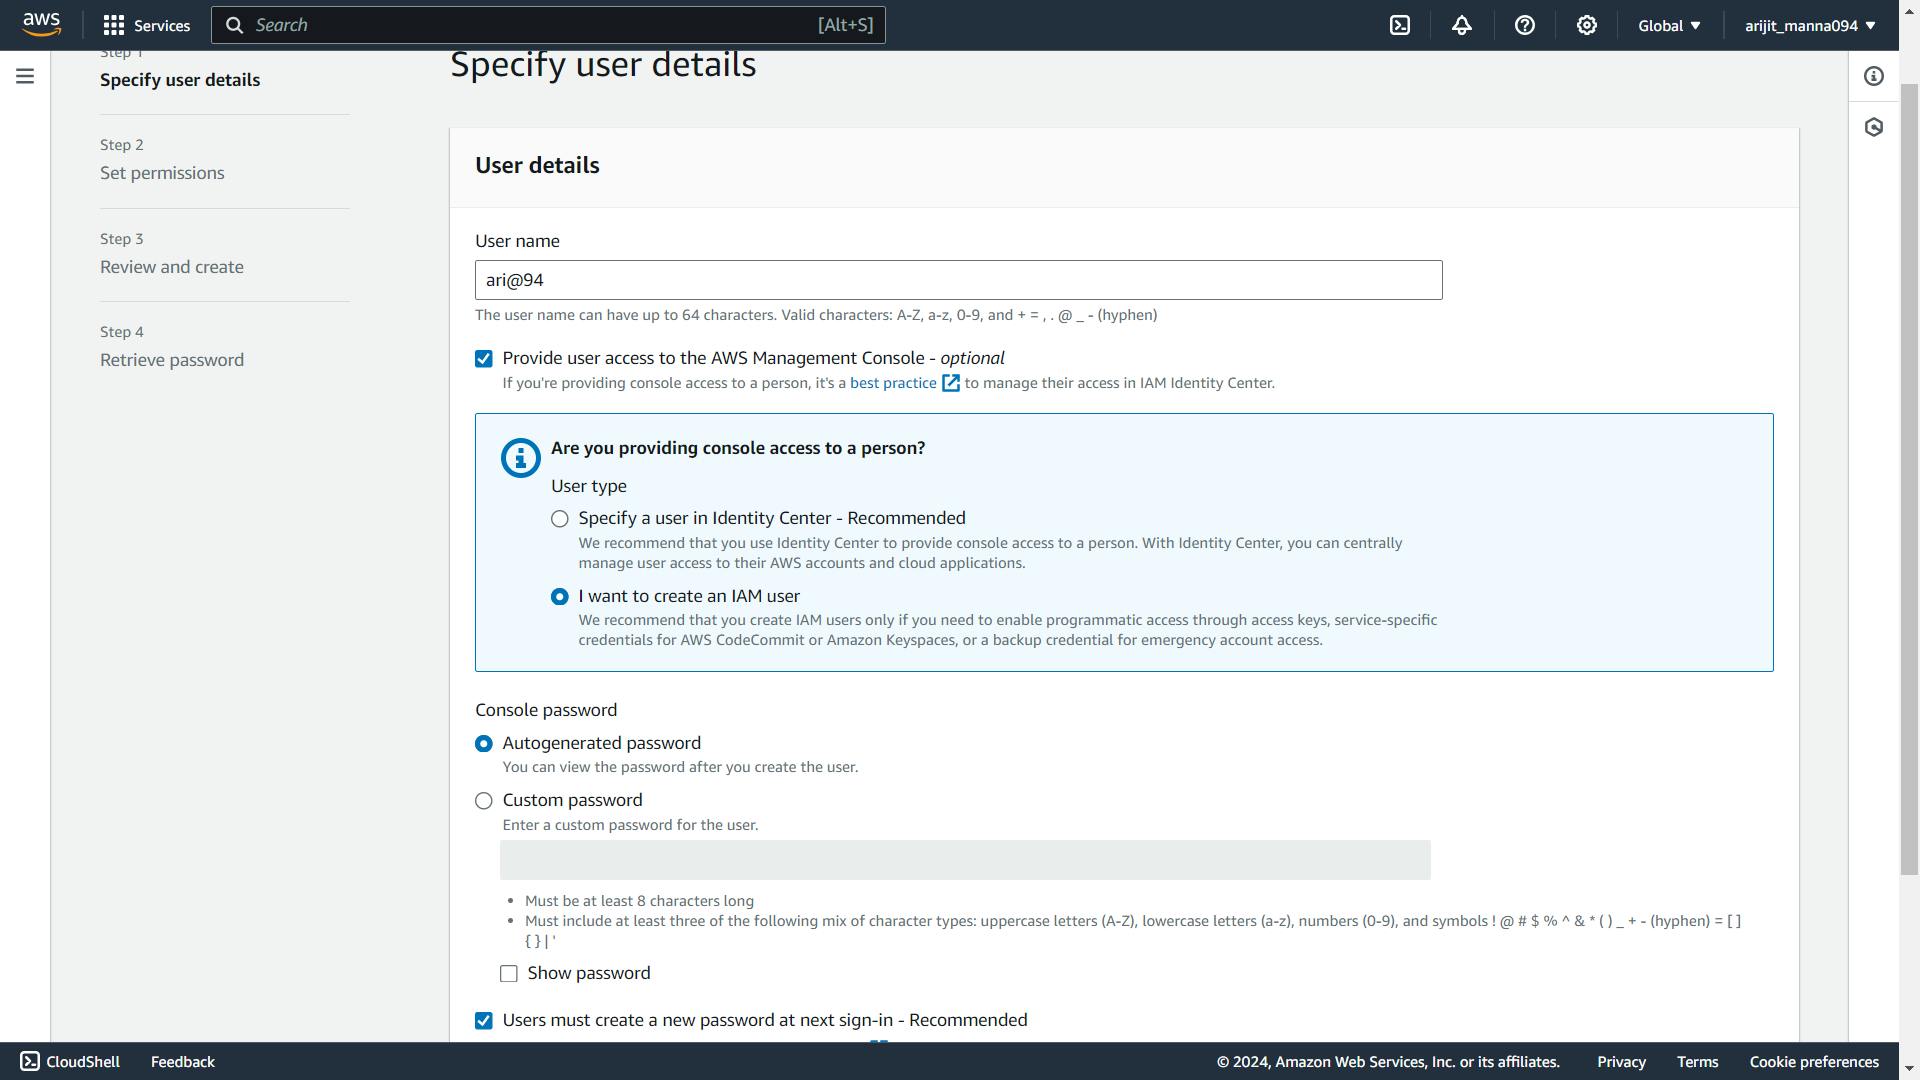
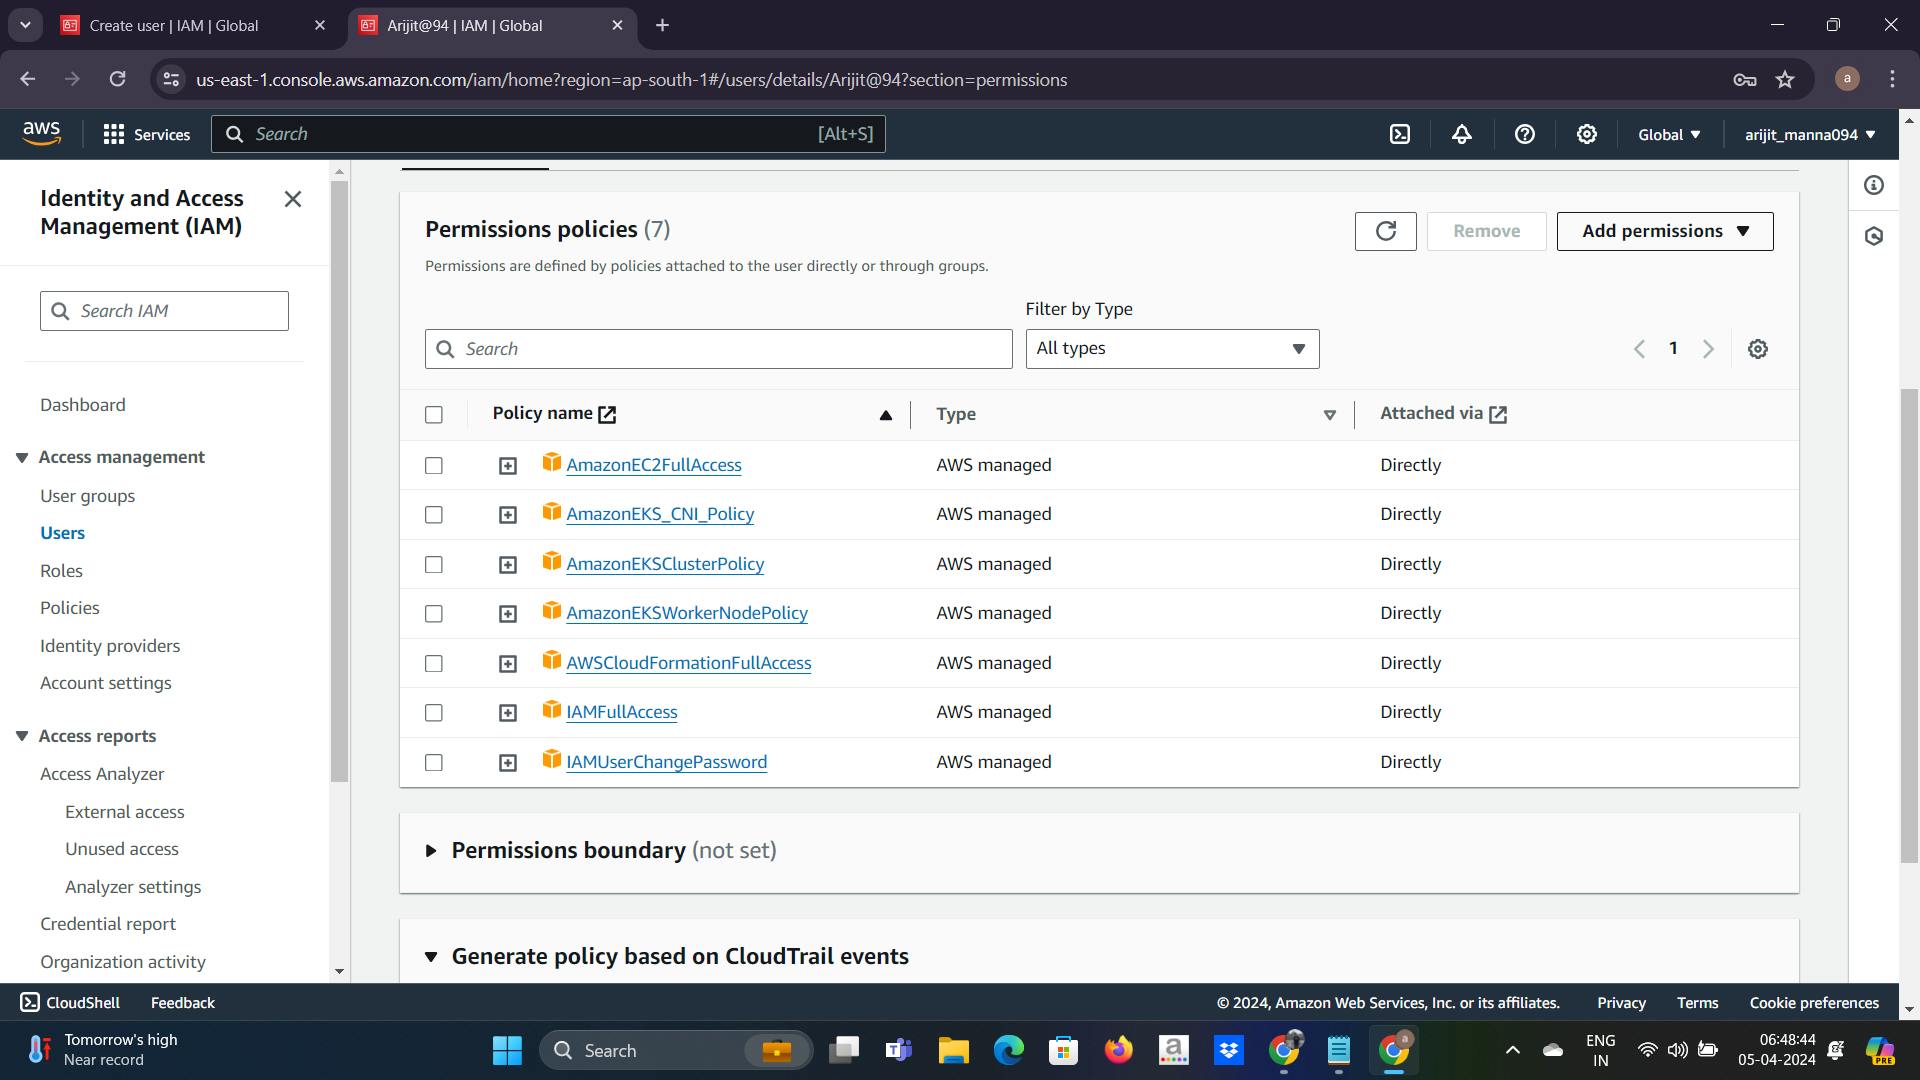
3. after next choose attach policies directly. give the necessary permission for user.
AmazonEC2FullAccess
AmazonEKS_CNI_Policy
AmazonEKSClusterPolicy
AmazonEKSWorkerNodePolicy
AWSCloudFormationFullAccess
IAMFullAccess
this are the AWS provided policies
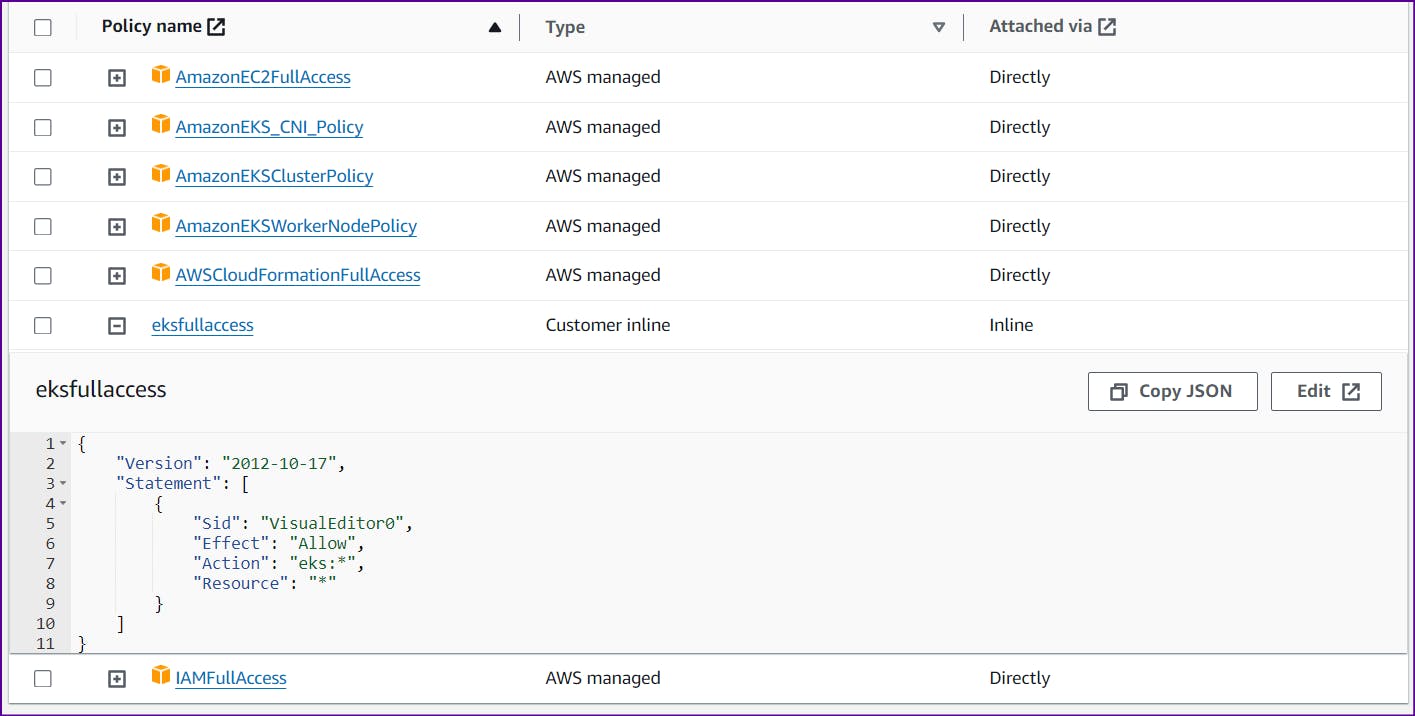
One more policy we need to create with content as below
{
    "Version": "2012-10-17",
    "Statement": [
        {
            "Sid": "VisualEditor0",
            "Effect": "Allow",
            "Action": "eks:*",
            "Resource": "*"
        }
    ]
}
Attach this policy to your user as well
your user is created
now you need to log out from your root account and login with IAM user for infra setup.
step-2
Now we need to create ec2 instance for setup our Jenkins for ci/cd , Eks-cluster for deployment and SonarQube for code checking.
1. click on ec2 launch instance .
2. choose ubuntu machine and instance type will be t2.xlarge because inside one server we will setup our Jenkins, Eks-cluster, SonarQube server. for storage go with 30 Gib.
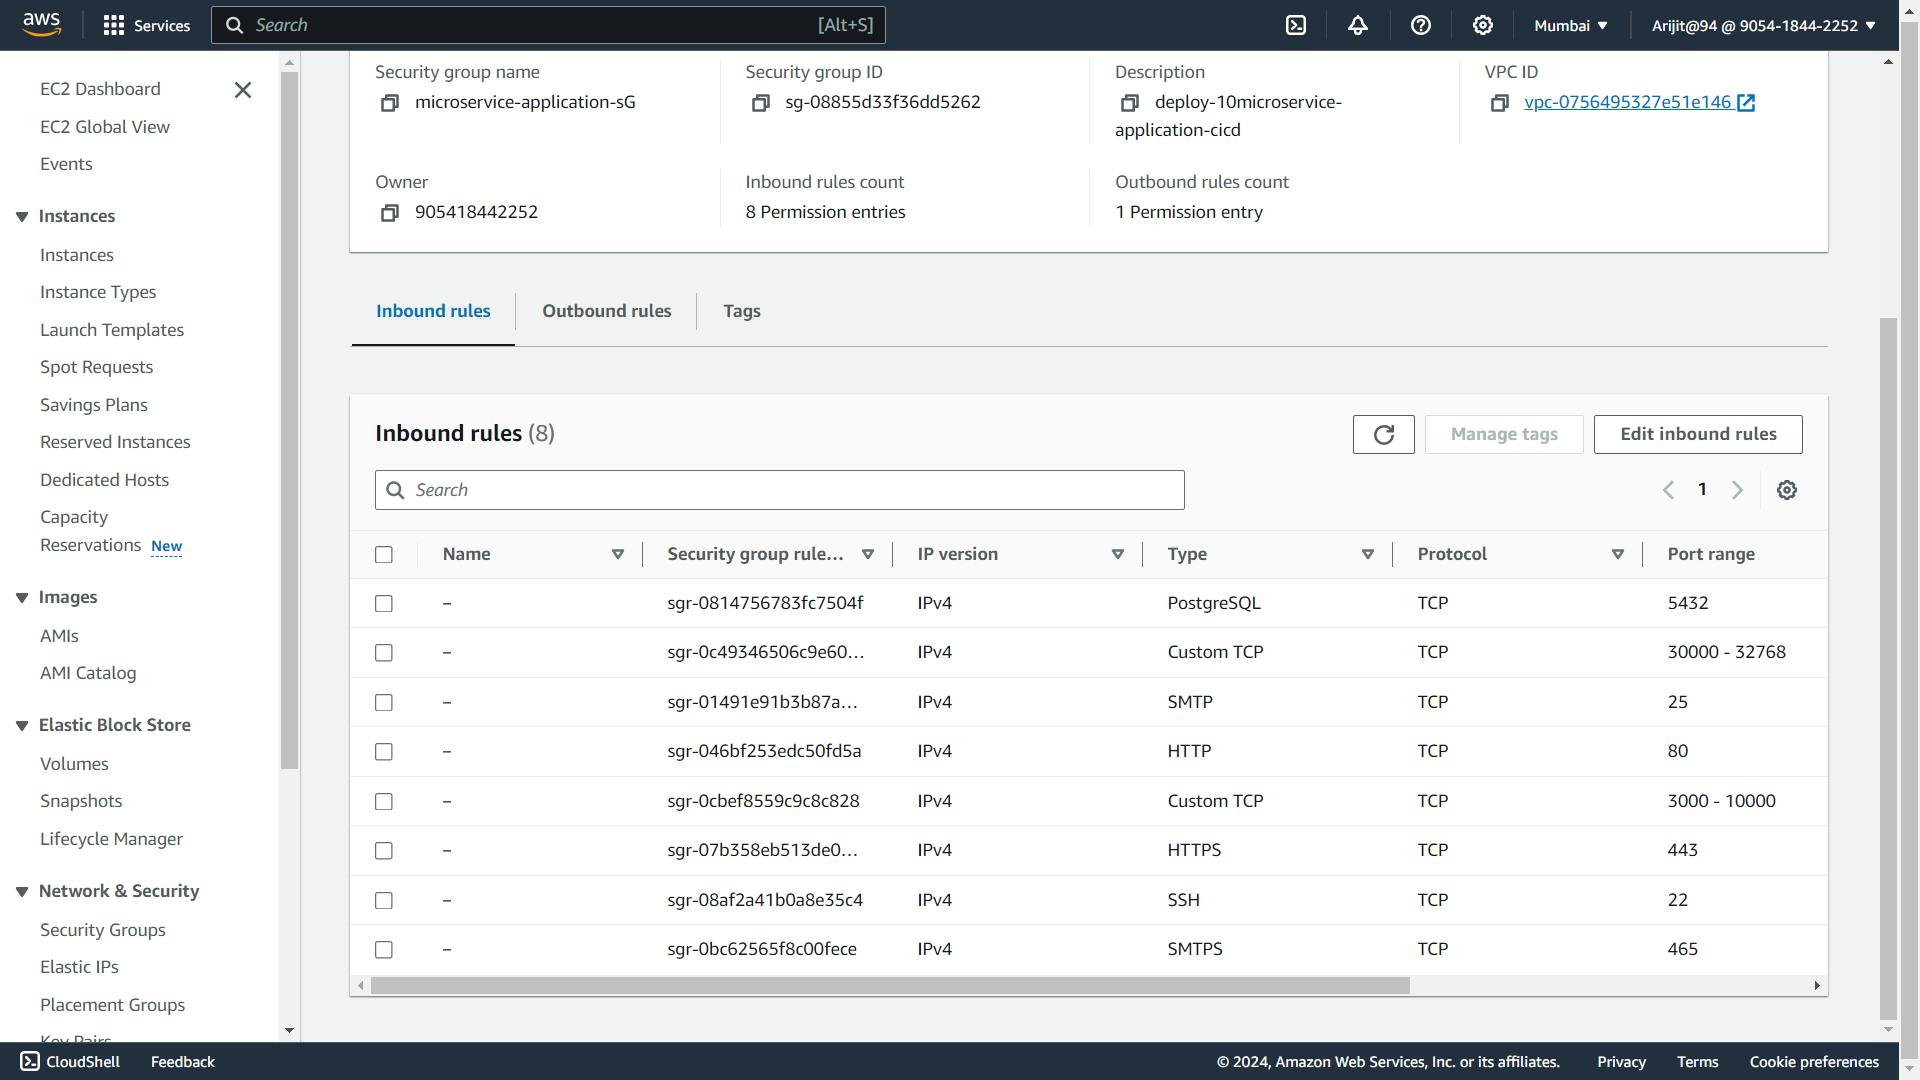
3. create your security group and allow all the necessary ports and attach with your instance

instance is created...😃
step-3
1. setup EKS cluster but before creating cluster we need to install AWS cli for the purpose of giving access and creating communication with AWS services through the server.
sudo apt update
curl "https://awscli.amazonaws.com/awscli-exe-linux-x86_64.zip" -o "awscliv2.zip"
sudo apt install unzip
unzip awscliv2.zip
sudo ./aws/install
aws configure
now go to your aws console and click on Security credentials and create Access keys and configure aws.
2. install kubectl : Kubectl is a command-line tool used to interact with Kubernetes clusters.
curl -o kubectl https://amazon-eks.s3.us-west-2.amazonaws.com/1.19.6/2021-01-05/bin/linux/amd64/kubectl
chmod +x ./kubectl
sudo mv ./kubectl /usr/local/bin
kubectl version --short --client
install eksctl : eksctl is a command-line utility used for provisioning and managing Amazon Elastic Kubernetes Service (EKS) clusters
 curl --silent --location "https://github.com/weaveworks/eksctl/releases/latest/download/eksctl_$(uname -s)_amd64.tar.gz" | tar xz -C /tmp
 sudo mv /tmp/eksctl /usr/local/bin
 eksctl version
4. Create EKS CLUSTER :
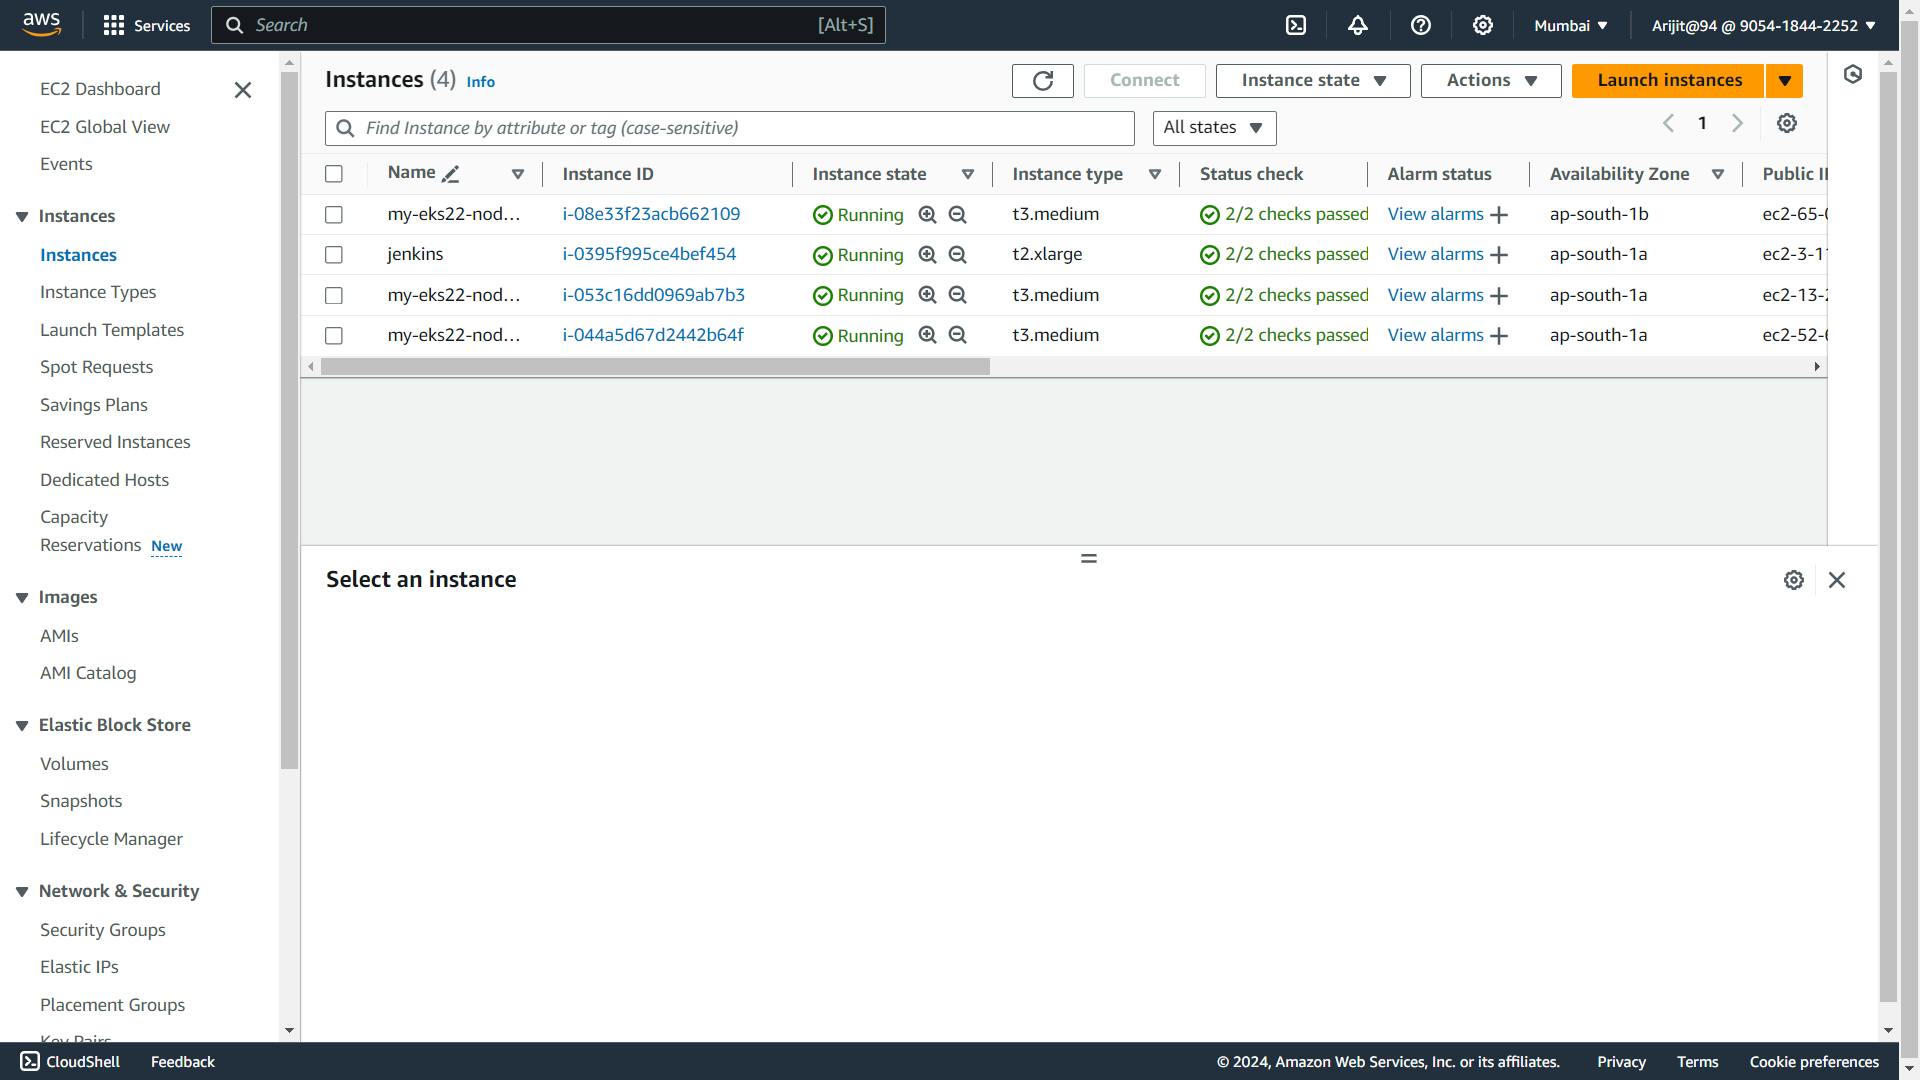
 eksctl create cluster --name=my-eks22 \
                       --region=ap-south-1 \
                       --zones=ap-south-1a,ap-south-1b \
                       --without-nodegroup
 eksctl utils associate-iam-oidc-provider \
     --region ap-south-1 \
     --cluster my-eks22 \
     --approve

 eksctl create nodegroup --cluster=my-eks22 \
                        --region=ap-south-1 \
                        --name=node2 \
                        --node-type=t3.medium \
                        --nodes=3 \
                        --nodes-min=2 \
                        --nodes-max=4 \
                        --node-volume-size=20 \
                        --ssh-access \
                        --ssh-public-key=Key \
                        --managed \
                        --asg-access \
                        --external-dns-access \
                        --full-ecr-access \
                        --appmesh-access \
                        --alb-ingress-access
Nodegroup instances :-
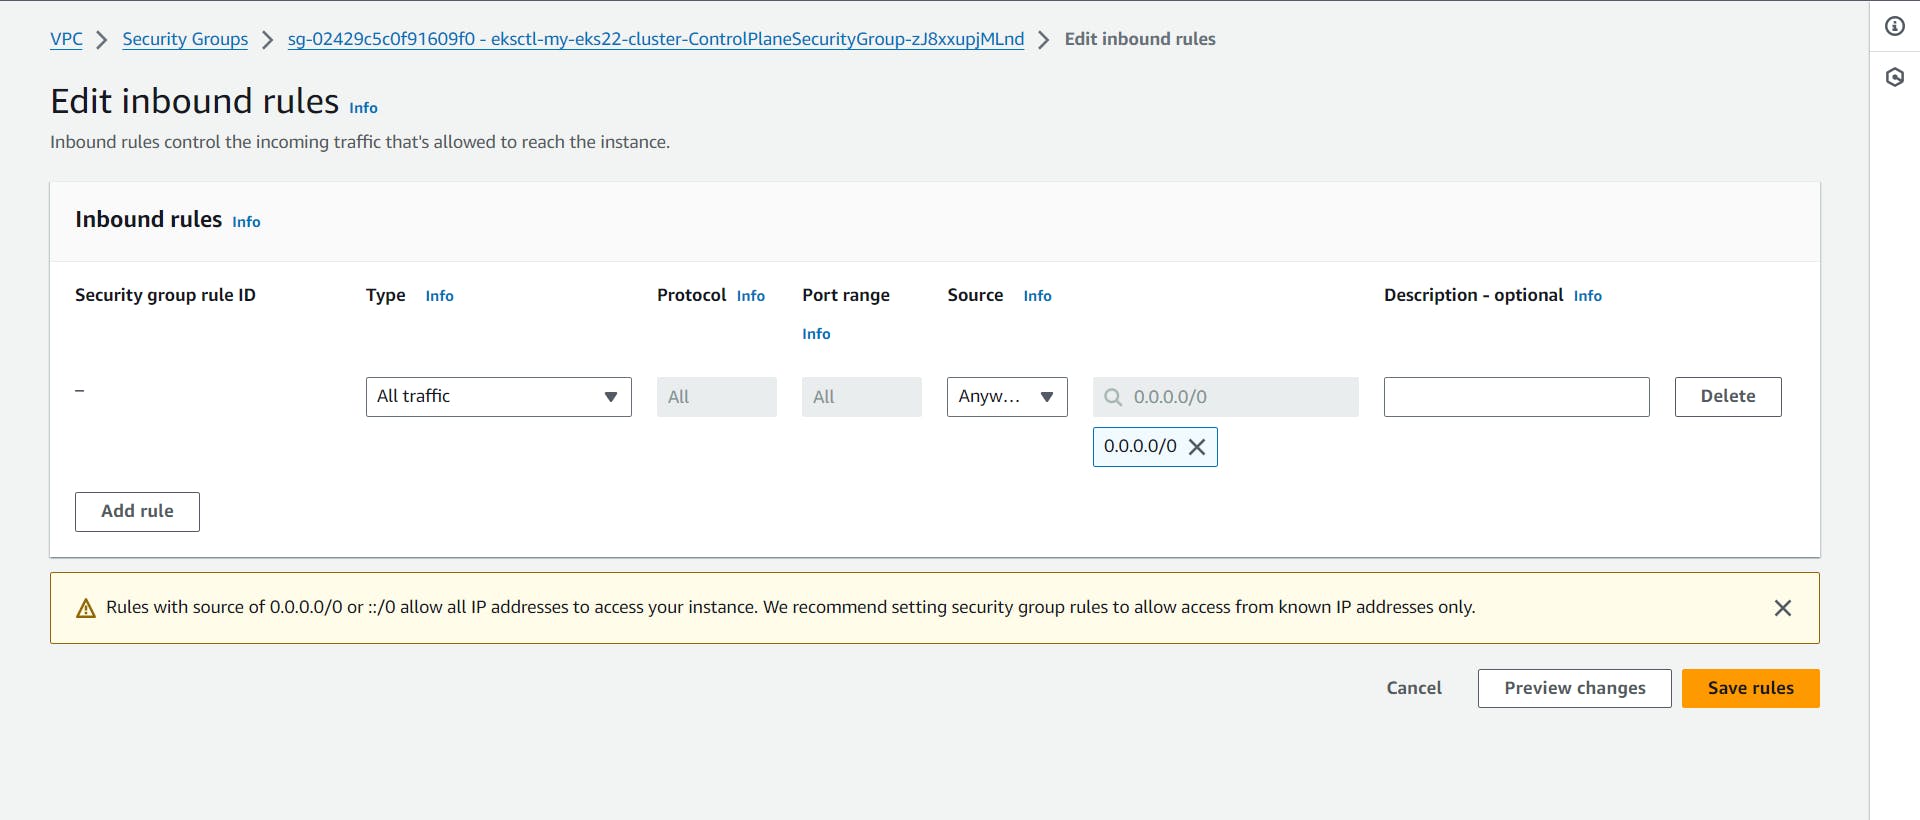
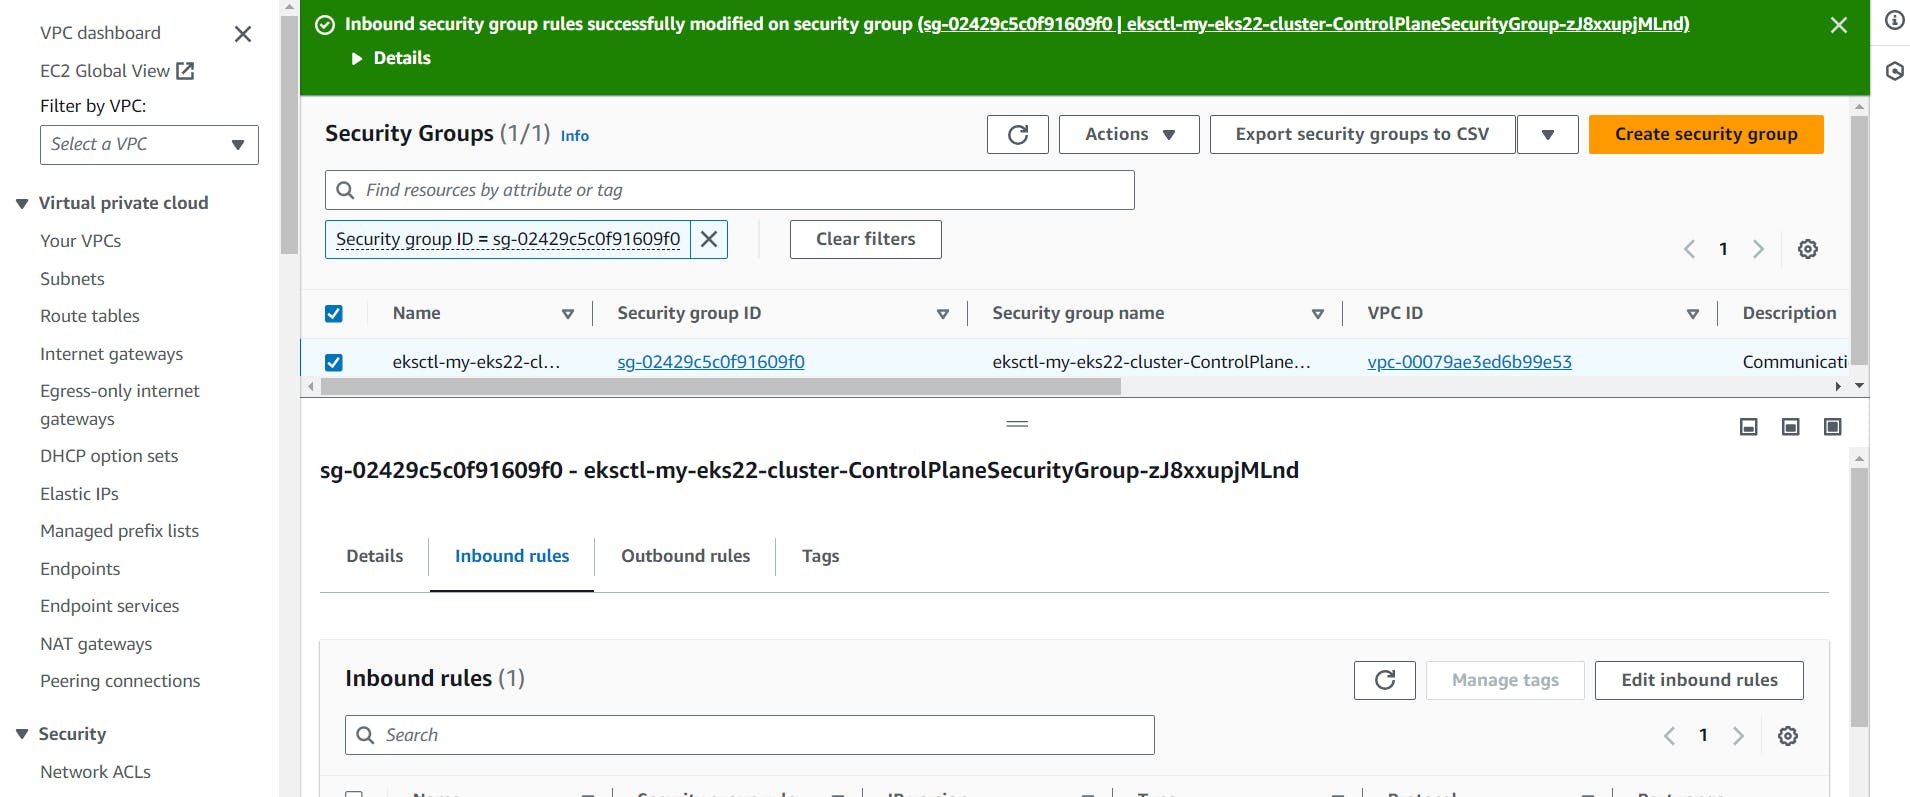
Open INBOUND TRAFFIC IN ADDITIONAL Security Group
Create Service Account, Role & Assign that role, And create a secret for Service Account and generate a Token
Creating Service Account
apiVersion: v1
kind: ServiceAccount
metadata:
  name: jenkins
  namespace: webapps
Create Role
apiVersion: rbac.authorization.k8s.io/v1
kind: Role
metadata:
  name: app-role
  namespace: webapps
rules:
  - apiGroups:
        - ""
        - apps
        - autoscaling
        - batch
        - extensions
        - policy
        - rbac.authorization.k8s.io
    resources:
      - pods
      - componentstatuses
      - configmaps
      - daemonsets
      - deployments
      - events
      - endpoints
      - horizontalpodautoscalers
      - ingress
      - jobs
      - limitranges
      - namespaces
      - nodes
      - pods
      - persistentvolumes
      - persistentvolumeclaims
      - resourcequotas
      - replicasets
      - replicationcontrollers
      - serviceaccounts
      - services
    verbs: ["get", "list", "watch", "create", "update", "patch", "delete"]
Bind the role to service account
apiVersion: rbac.authorization.k8s.io/v1
kind: RoleBinding
metadata:
  name: app-rolebinding
  namespace: webapps
roleRef:
  apiGroup: rbac.authorization.k8s.io
  kind: Role
  name: app-role
subjects:
- namespace: webapps
  kind: ServiceAccount
  name: jenkins
Generate token using service account in the namespace
step-4
setup Jenkins
1. install java

2. install jenkins
sudo wget -O /usr/share/keyrings/jenkins-keyring.asc \
  https://pkg.jenkins.io/debian-stable/jenkins.io-2023.key
echo "deb [signed-by=/usr/share/keyrings/jenkins-keyring.asc]" \
  https://pkg.jenkins.io/debian-stable binary/ | sudo tee \
  /etc/apt/sources.list.d/jenkins.list > /dev/null
sudo apt-get update
sudo apt-get install jenkins
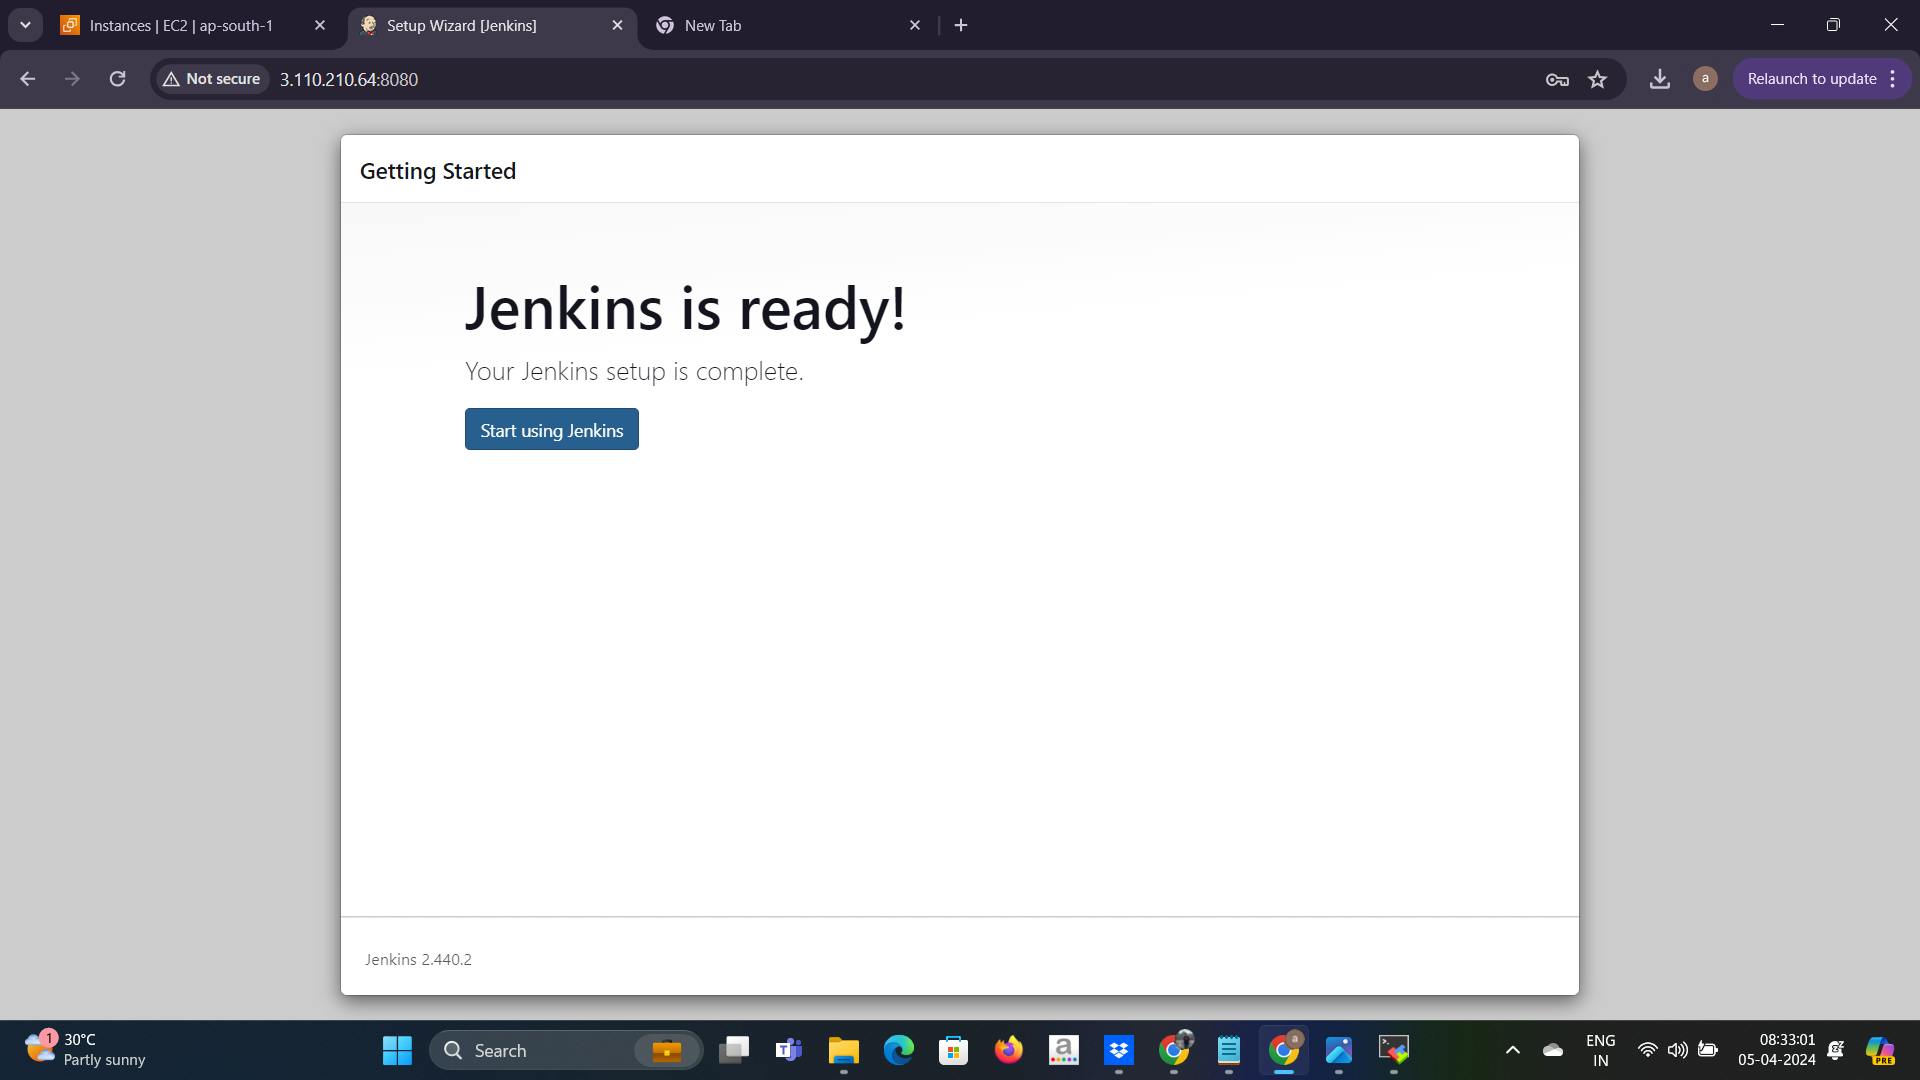
now jenkins setup is ready now copy the instance public_ip and open the browser tab public_ip:8080 hit this address.
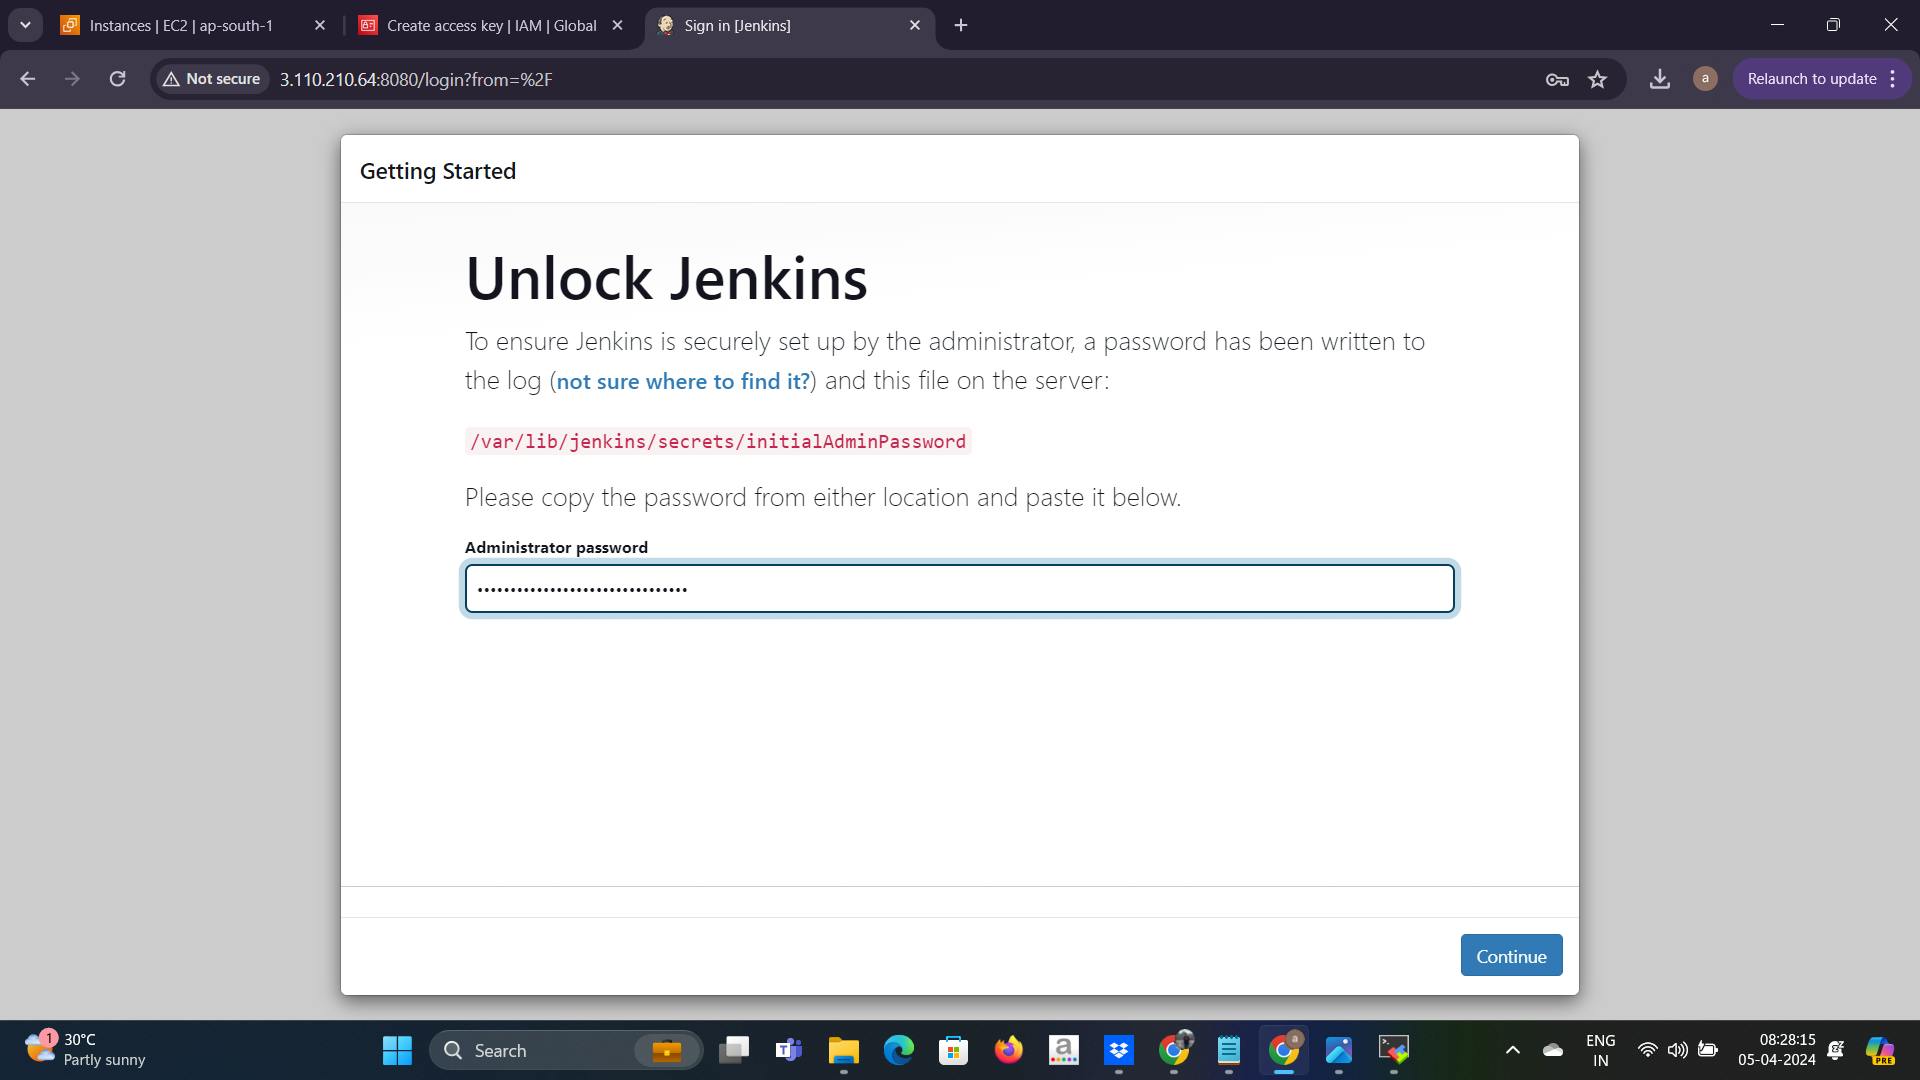
copy the secret from the given location and paste the secret here ☝️ and then continue.
step - 5
setup SonarQube
1. install docker :
Run the following command to uninstall all conflicting packages:
for pkg in docker.io docker-doc docker-compose docker-compose-v2 podman-docker containerd runc; do sudo apt-get remove $pkg; done
Set up Docker's apt repository.
# Add Docker's official GPG key:
sudo apt-get update
sudo apt-get install ca-certificates curl
sudo install -m 0755 -d /etc/apt/keyrings
sudo curl -fsSL https://download.docker.com/linux/ubuntu/gpg -o /etc/apt/keyrings/docker.asc
sudo chmod a+r /etc/apt/keyrings/docker.asc

# Add the repository to Apt sources:
echo \
  "deb [arch=$(dpkg --print-architecture) signed-by=/etc/apt/keyrings/docker.asc] https://download.docker.com/linux/ubuntu \
  $(. /etc/os-release && echo "$VERSION_CODENAME") stable" | \
  sudo tee /etc/apt/sources.list.d/docker.list > /dev/null
sudo apt-get update
Install the Docker packages.
sudo apt-get install docker-ce docker-ce-cli containerd.io docker-buildx-plugin docker-compose-plugin
to add the current user to the "docker" group
sudo systemctl -aG docker $USER
sudo systemctl reboot
2. install SonarQube :
docker run -d -p 9000:9000 sonarqube:lts-community
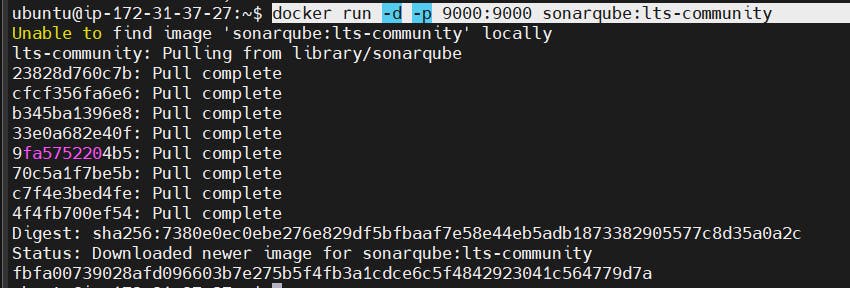
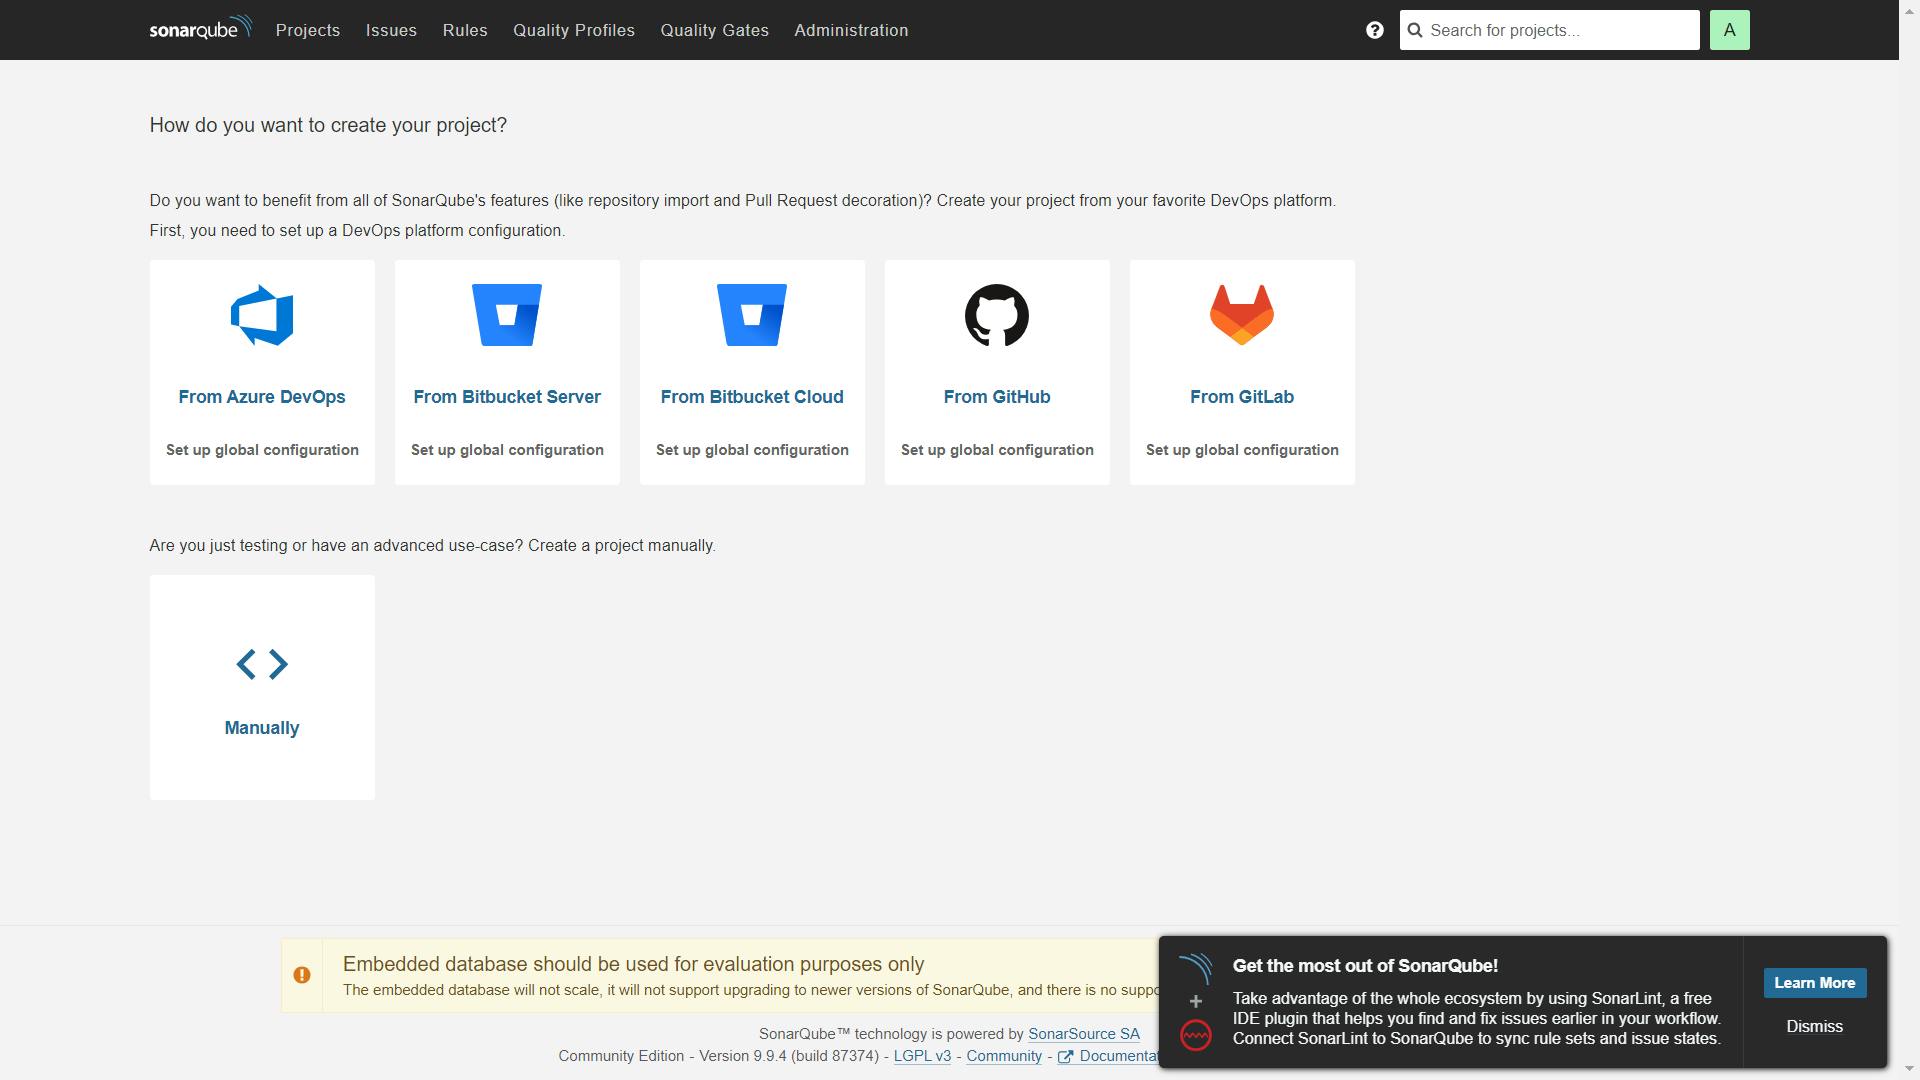
3. SonarQube setup is ready now copy the instance public_ip and open the browser tab public_ip:9000 hit this address.
- initially
user_idandpasswordwill be admin
📁 𝗣𝗵𝗮𝘀𝗲 𝟮: 𝗦𝗲𝘁𝘂𝗽 𝗣𝗿𝗶𝘃𝗮𝘁𝗲 𝗚𝗶𝘁 𝗥𝗲𝗽𝗼
-Established a secure private Git repository.
-Implemented token-based authentication for enhanced security.
-Successfully pushed the source code into the repository, ensuring version control.
https://github.com/Arijit094/10-MicroService-Appliction-CiCd-pipeline.git
🔧 𝗣𝗵𝗮𝘀𝗲 𝟯: 𝗖𝗼𝗻𝗳𝗶𝗴𝘂𝗿𝗲 𝗝𝗲𝗻𝗸𝗶𝗻𝘀 & 𝗖𝗜𝗖𝗗 𝗣𝗶𝗽𝗲𝗹𝗶𝗻𝗲
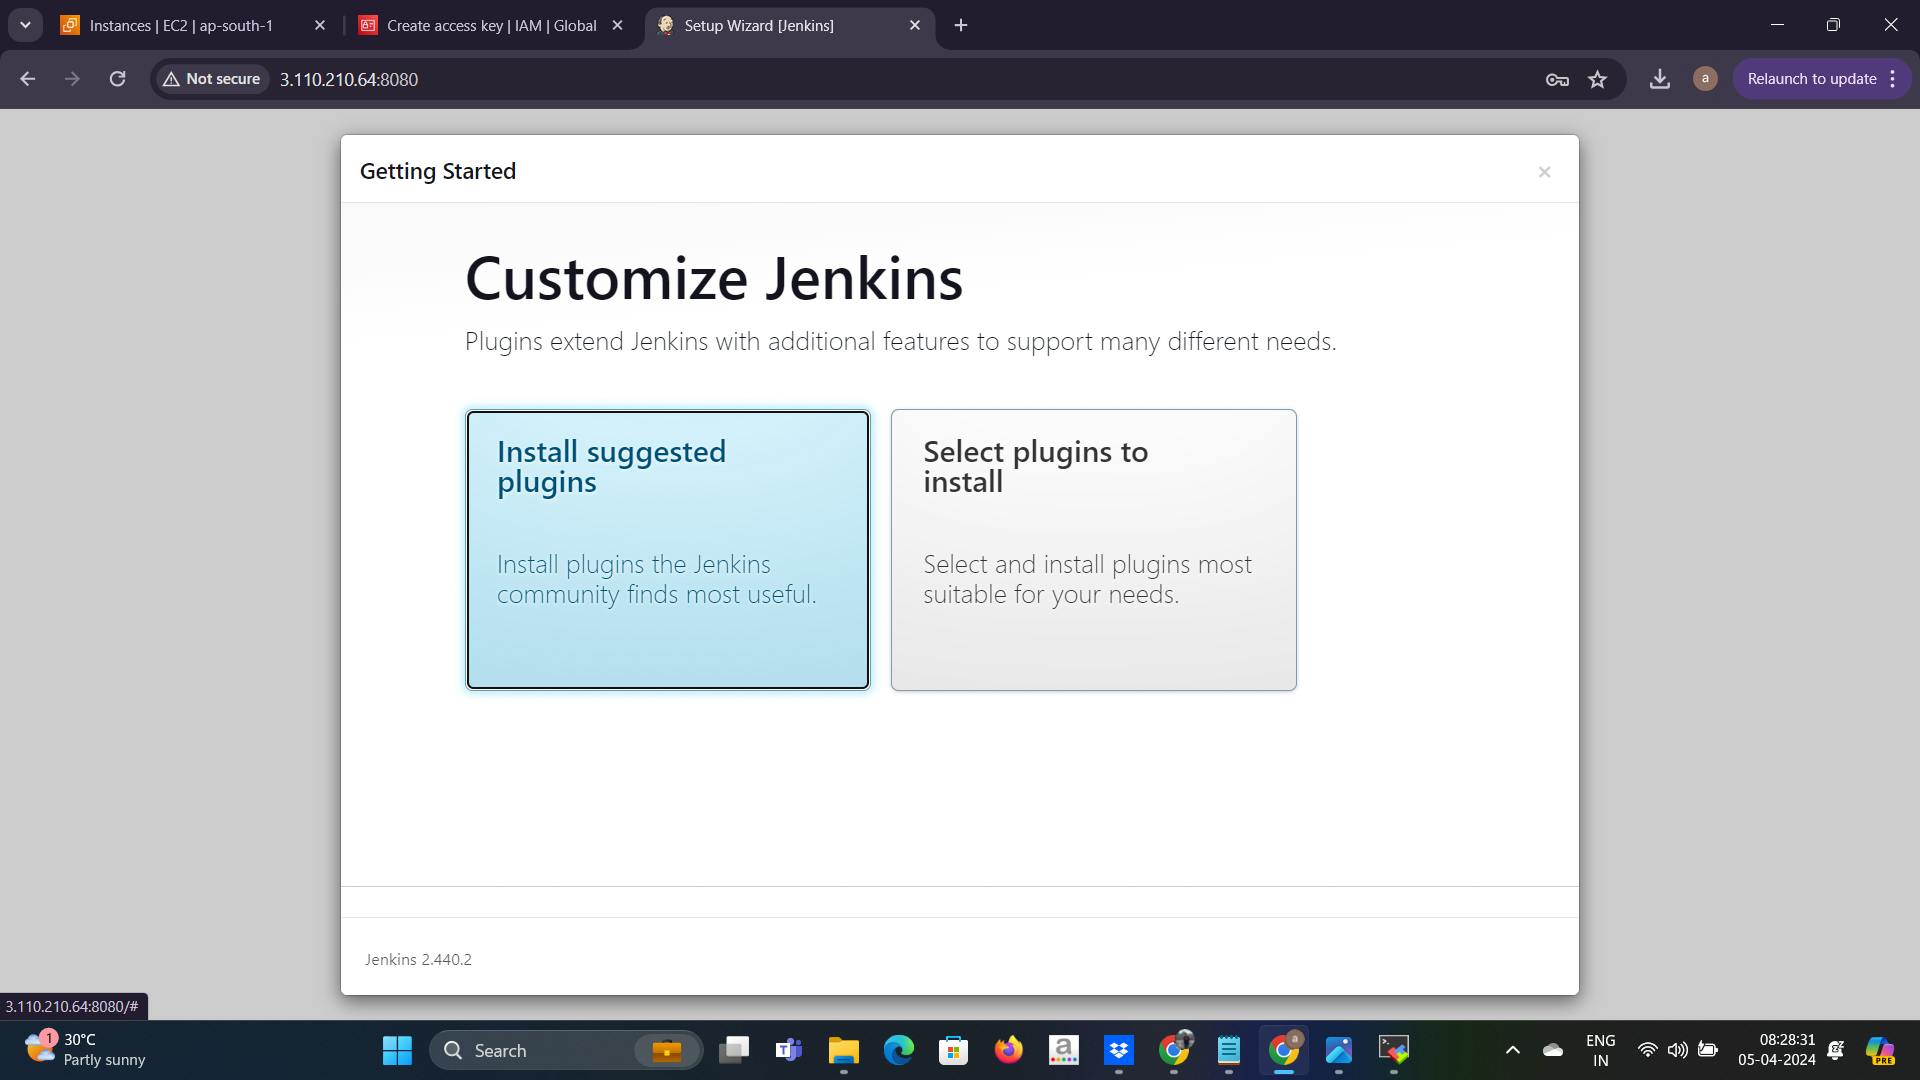
-Configured Jenkins with necessary plugins for smooth pipeline execution.
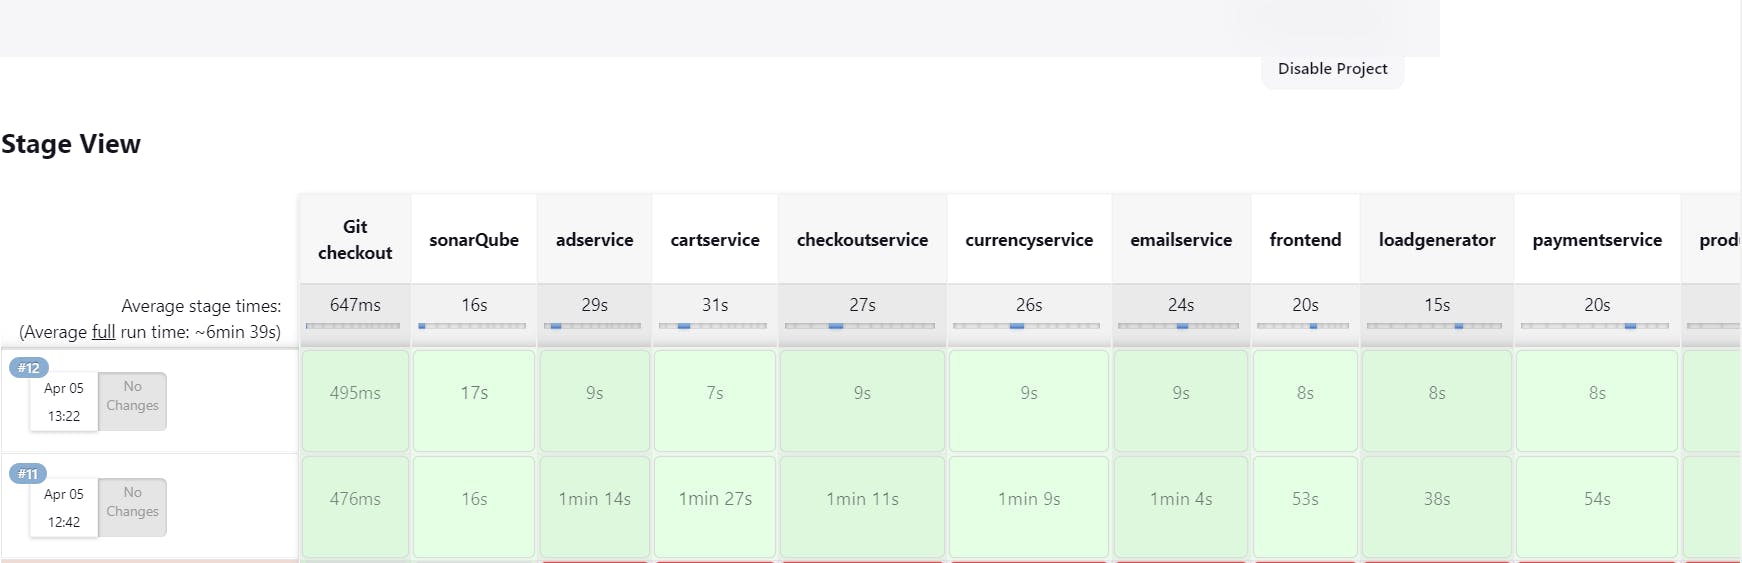
Designed a robust CI/CD pipeline with various stages:
all the necessary plugins are
SonarQube scanner
docker
docker pipeline
docker-build-step
CloudBess Docker build and publish
Kubernetes
Kubernetes cli
now you need to install all the plugins and configure all the plugins also configure the SonarQube server
Now we can start to write our ci/cd pipeline script 💥💥💥💥and deploy the web-based e-commerce app
pipeline {
    agent any

    environment {

        SCANNER_HOME = tool 'sonar-scanner'
    }

    stages {
        stage('Git checkout') {
            steps {
                git branch: 'main', url: 'https://github.com/Arijit094/10-MicroService-Appliction-CiCd-pipeline.git'
            }
        }
        stage('sonarQube') {
            steps {
                withSonarQubeEnv('sonar') {
                     sh '''$SCANNER_HOME/bin/sonar-scanner -Dsonar.projectKey=10-tier -Dsonar.projectName=10-tier -Dsonar.java.binaries=. '''
                }

            }
        }
        stage('adservice') {
            steps {
                script{
                    withDockerRegistry(credentialsId: 'docker-new', toolName: 'docker') {
                        dir('/var/lib/jenkins/workspace/10-tier/src/adservice') {
                                sh "docker build -t arijit094/adservice:latest ."
                                sh "docker push arijit094/adservice:latest"
                                sh " docker rmi arijit094/adservice:latest"

                        }
                    }
                }

            }
        }
        stage('cartservice') {
            steps {
                script{
                    withDockerRegistry(credentialsId: 'docker-new', toolName: 'docker') {
                          dir('/var/lib/jenkins/workspace/10-tier/src/cartservice/src/') {
                                 sh "docker build -t arijit094/cartservice:latest ."
                                 sh "docker push arijit094/cartservice:latest"
                                 sh " docker rmi arijit094/cartservice:latest"
                        }
                    }
                }
            }
        }

        stage('checkoutservice') {
            steps {
                script{
                    withDockerRegistry(credentialsId: 'docker-new', toolName: 'docker') {
                          dir('/var/lib/jenkins/workspace/10-tier/src/checkoutservice/') {
                                 sh "docker build -t arijit094/checkoutservice:latest ."
                                 sh "docker push arijit094/checkoutservice:latest"
                                 sh " docker rmi arijit094/checkoutservice:latest"
                        }
                    }
                }
            }
        }

        stage('currencyservice') {
            steps {
                script{
                    withDockerRegistry(credentialsId: 'docker-new', toolName: 'docker') {
                          dir('/var/lib/jenkins/workspace/10-tier/src/currencyservice/') {
                                 sh "docker build -t arijit094/currencyservice:latest ."
                                 sh "docker push arijit094/currencyservice:latest"
                                 sh " docker rmi arijit094/currencyservice:latest"
                        }
                    }
                }
            }
        }

        stage('emailservice') {
            steps {
                script{
                    withDockerRegistry(credentialsId: 'docker-new', toolName: 'docker') {
                          dir('/var/lib/jenkins/workspace/10-tier/src/emailservice/') {
                                 sh "docker build -t arijit094/emailservice:latest ."
                                 sh "docker push arijit094/emailservice:latest"
                                 sh " docker rmi arijit094/emailservice:latest"
                        }
                    }
                }
            }
        }

        stage('frontend') {
            steps {
                script{
                    withDockerRegistry(credentialsId: 'docker-new', toolName: 'docker') {
                          dir('/var/lib/jenkins/workspace/10-tier/src/frontend/') {
                                 sh "docker build -t arijit094/frontend:latest ."
                                 sh "docker push arijit094/frontend:latest"
                                 sh " docker rmi arijit094/frontend:latest"
                        }
                    }
                }
            }
        }

        stage('loadgenerator') {
            steps {
                script{
                    withDockerRegistry(credentialsId: 'docker-new', toolName: 'docker') {
                          dir('/var/lib/jenkins/workspace/10-tier/src/loadgenerator/') {
                                 sh "docker build -t arijit094/loadgenerator:latest ."
                                 sh "docker push arijit094/loadgenerator:latest"
                                 sh " docker rmi arijit094/loadgenerator:latest"
                        }
                    }
                }
            }
        }

        stage('paymentservice') {
            steps {
                script{
                    withDockerRegistry(credentialsId: 'docker-new', toolName: 'docker') {
                          dir('/var/lib/jenkins/workspace/10-tier/src/paymentservice/') {
                                 sh "docker build -t arijit094/paymentservice:latest ."
                                 sh "docker push arijit094/paymentservice:latest"
                                  sh " docker rmi arijit094/paymentservice:latest"
                        }
                    }
                }
            }
        }

        stage('productcatalogservice') {
            steps {
                script{
                    withDockerRegistry(credentialsId: 'docker-new', toolName: 'docker') {
                          dir('/var/lib/jenkins/workspace/10-tier/src/productcatalogservice/') {
                                 sh "docker build -t arijit094/productcatalogservice:latest ."
                                 sh "docker push arijit094/productcatalogservice:latest"
                                 sh " docker rmi arijit094/productcatalogservice:latest"
                        }
                    }
                }
            }
        }

        stage('recommendationservice') {
            steps {
                script{
                    withDockerRegistry(credentialsId: 'docker-new', toolName: 'docker') {
                          dir('/var/lib/jenkins/workspace/10-tier/src/recommendationservice/') {
                                 sh "docker build -t arijit094/recommendationservice:latest ."
                                 sh "docker push arijit094/recommendationservice:latest"
                                 sh " docker rmi arijit094/recommendationservice:latest"
                        }
                    }
                }
            }
        }

        stage('shippingservice') {
            steps {
                script{
                    withDockerRegistry(credentialsId: 'docker-new', toolName: 'docker') {
                          dir('/var/lib/jenkins/workspace/10-tier/src/shippingservice/') {
                                 sh "docker build -t arijit094/shippingservice:latest ."
                                 sh "docker push arijit094/shippingservice:latest"
                                 sh " docker rmi arijit094/shippingservice:latest"
                        }
                    }
                }
            }
        }
        stage('k8s-deploy') {
            steps {
                withKubeConfig(caCertificate: '', clusterName: 'my-eks22', contextName: '', credentialsId: 'kube-cred', namespace: 'webapps', restrictKubeConfigAccess: false, serverUrl: 'https://0807809959F99FAFDB2965BE21E68D03.yl4.ap-south-1.eks.amazonaws.com') {

                         sh 'kubectl apply -f deployment-service.yml'
                         sh 'kubectl get pods '
                         sh 'kubectl get svc'

                }

            }
        }
    }
}
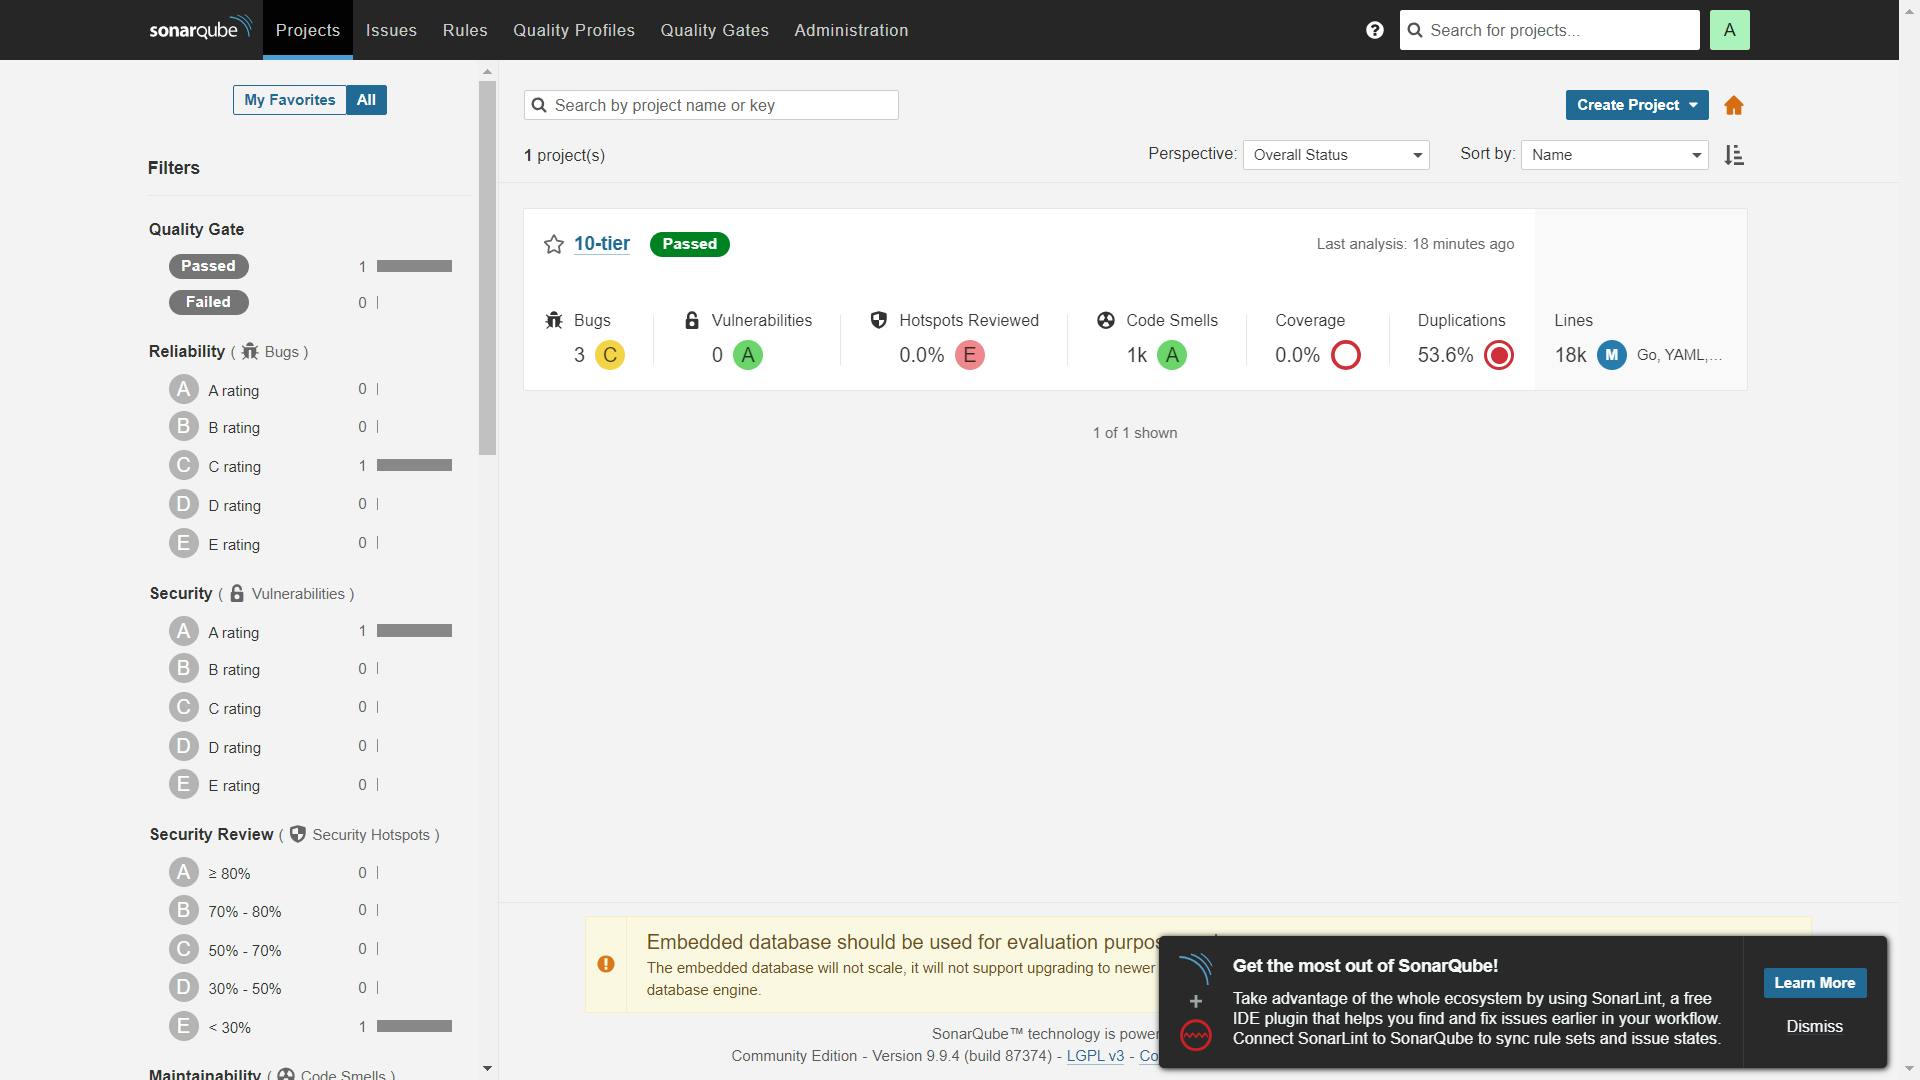
now we are successfully deploy our e-commerce web app inside EKS cluster and all the microservice component images are pushed in DockerHub registry and also we can check the code bugs, code smells through the SonarQube.
!!ok let see all the output...😃
SonarQube output :-
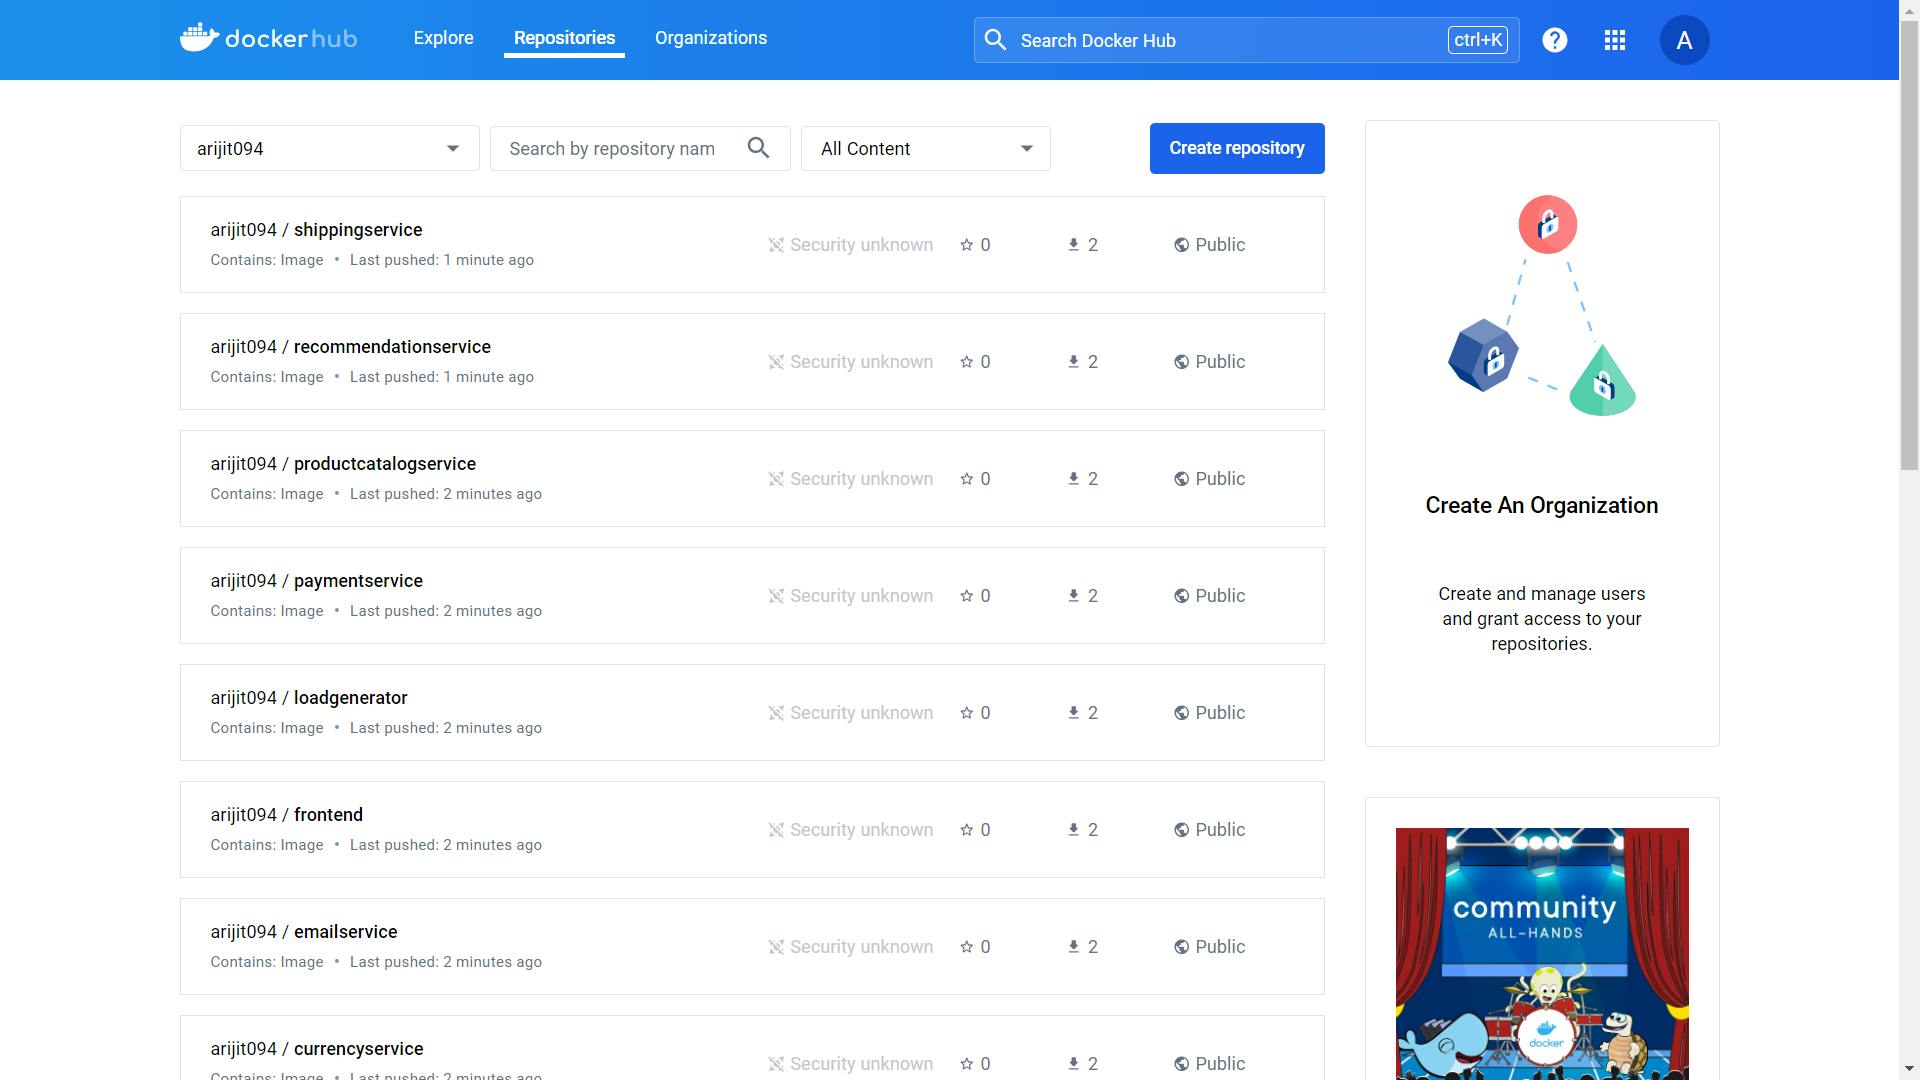
DockerHub output:-
you should see the Pods in a Running state:

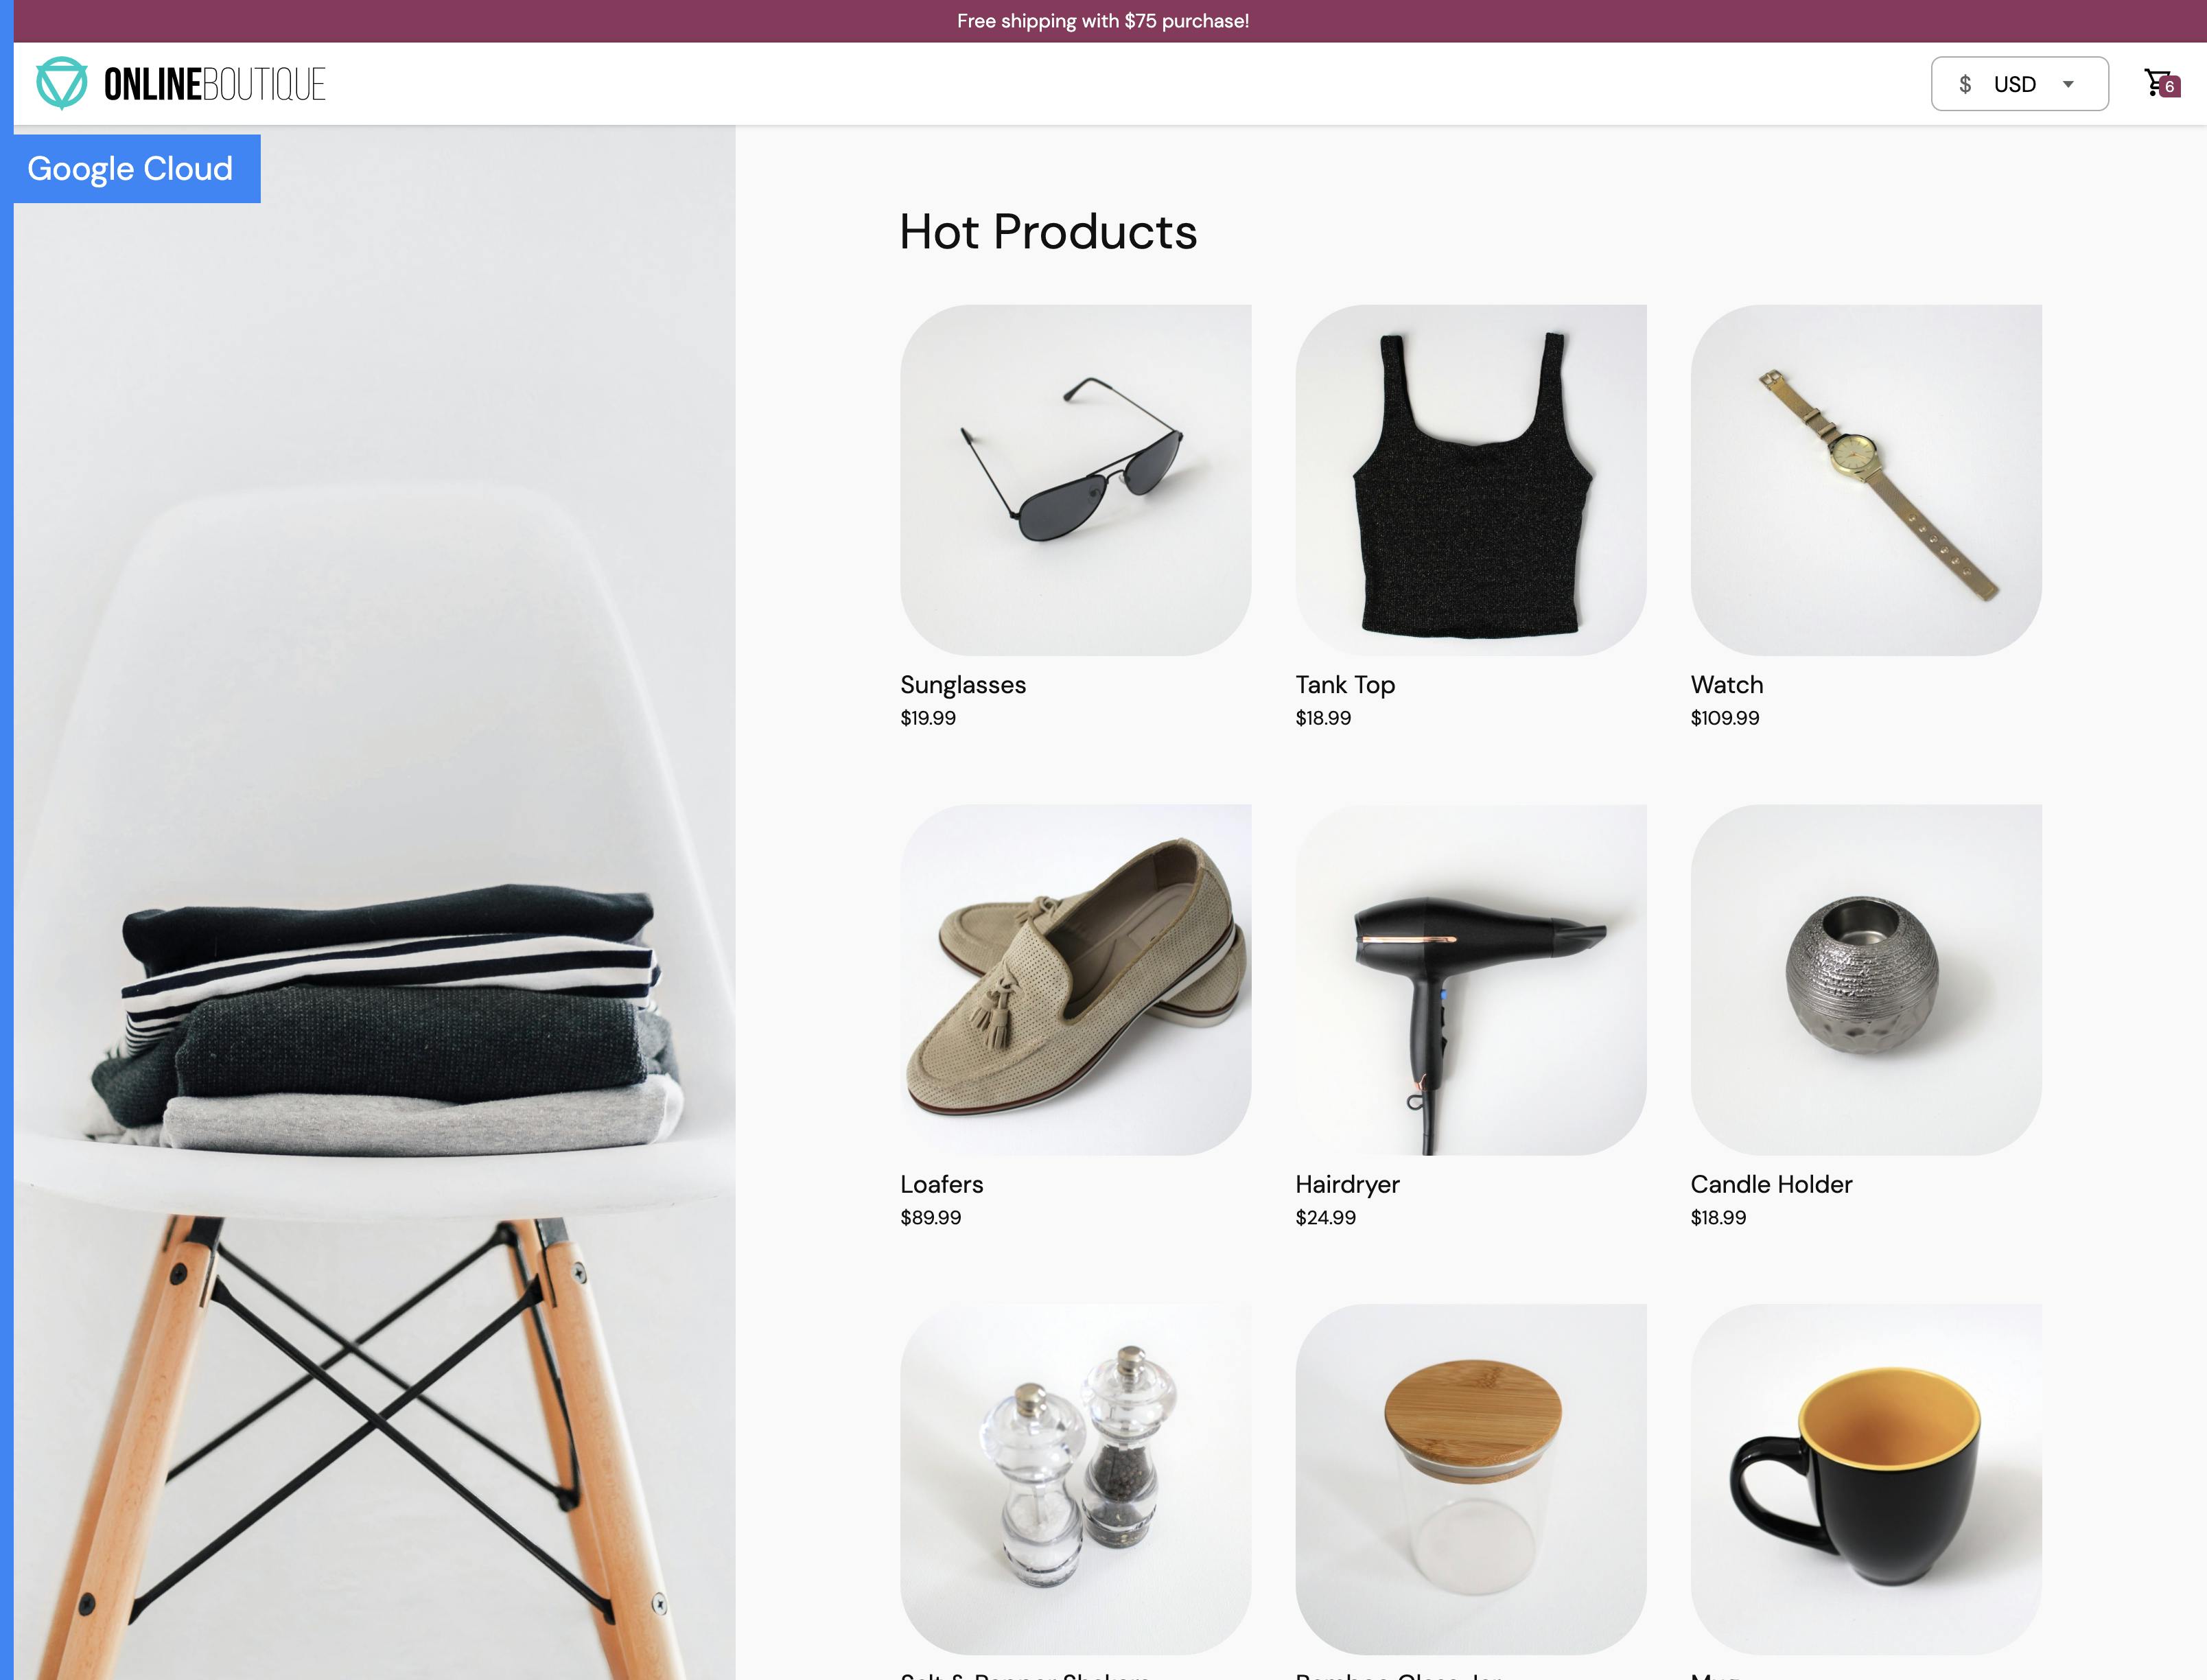
Access the web frontend in a browser using the frontend's external IP
kubectl get svc -n webapps
copy frontend's external IP and paste it on browser and see the web app...
home page
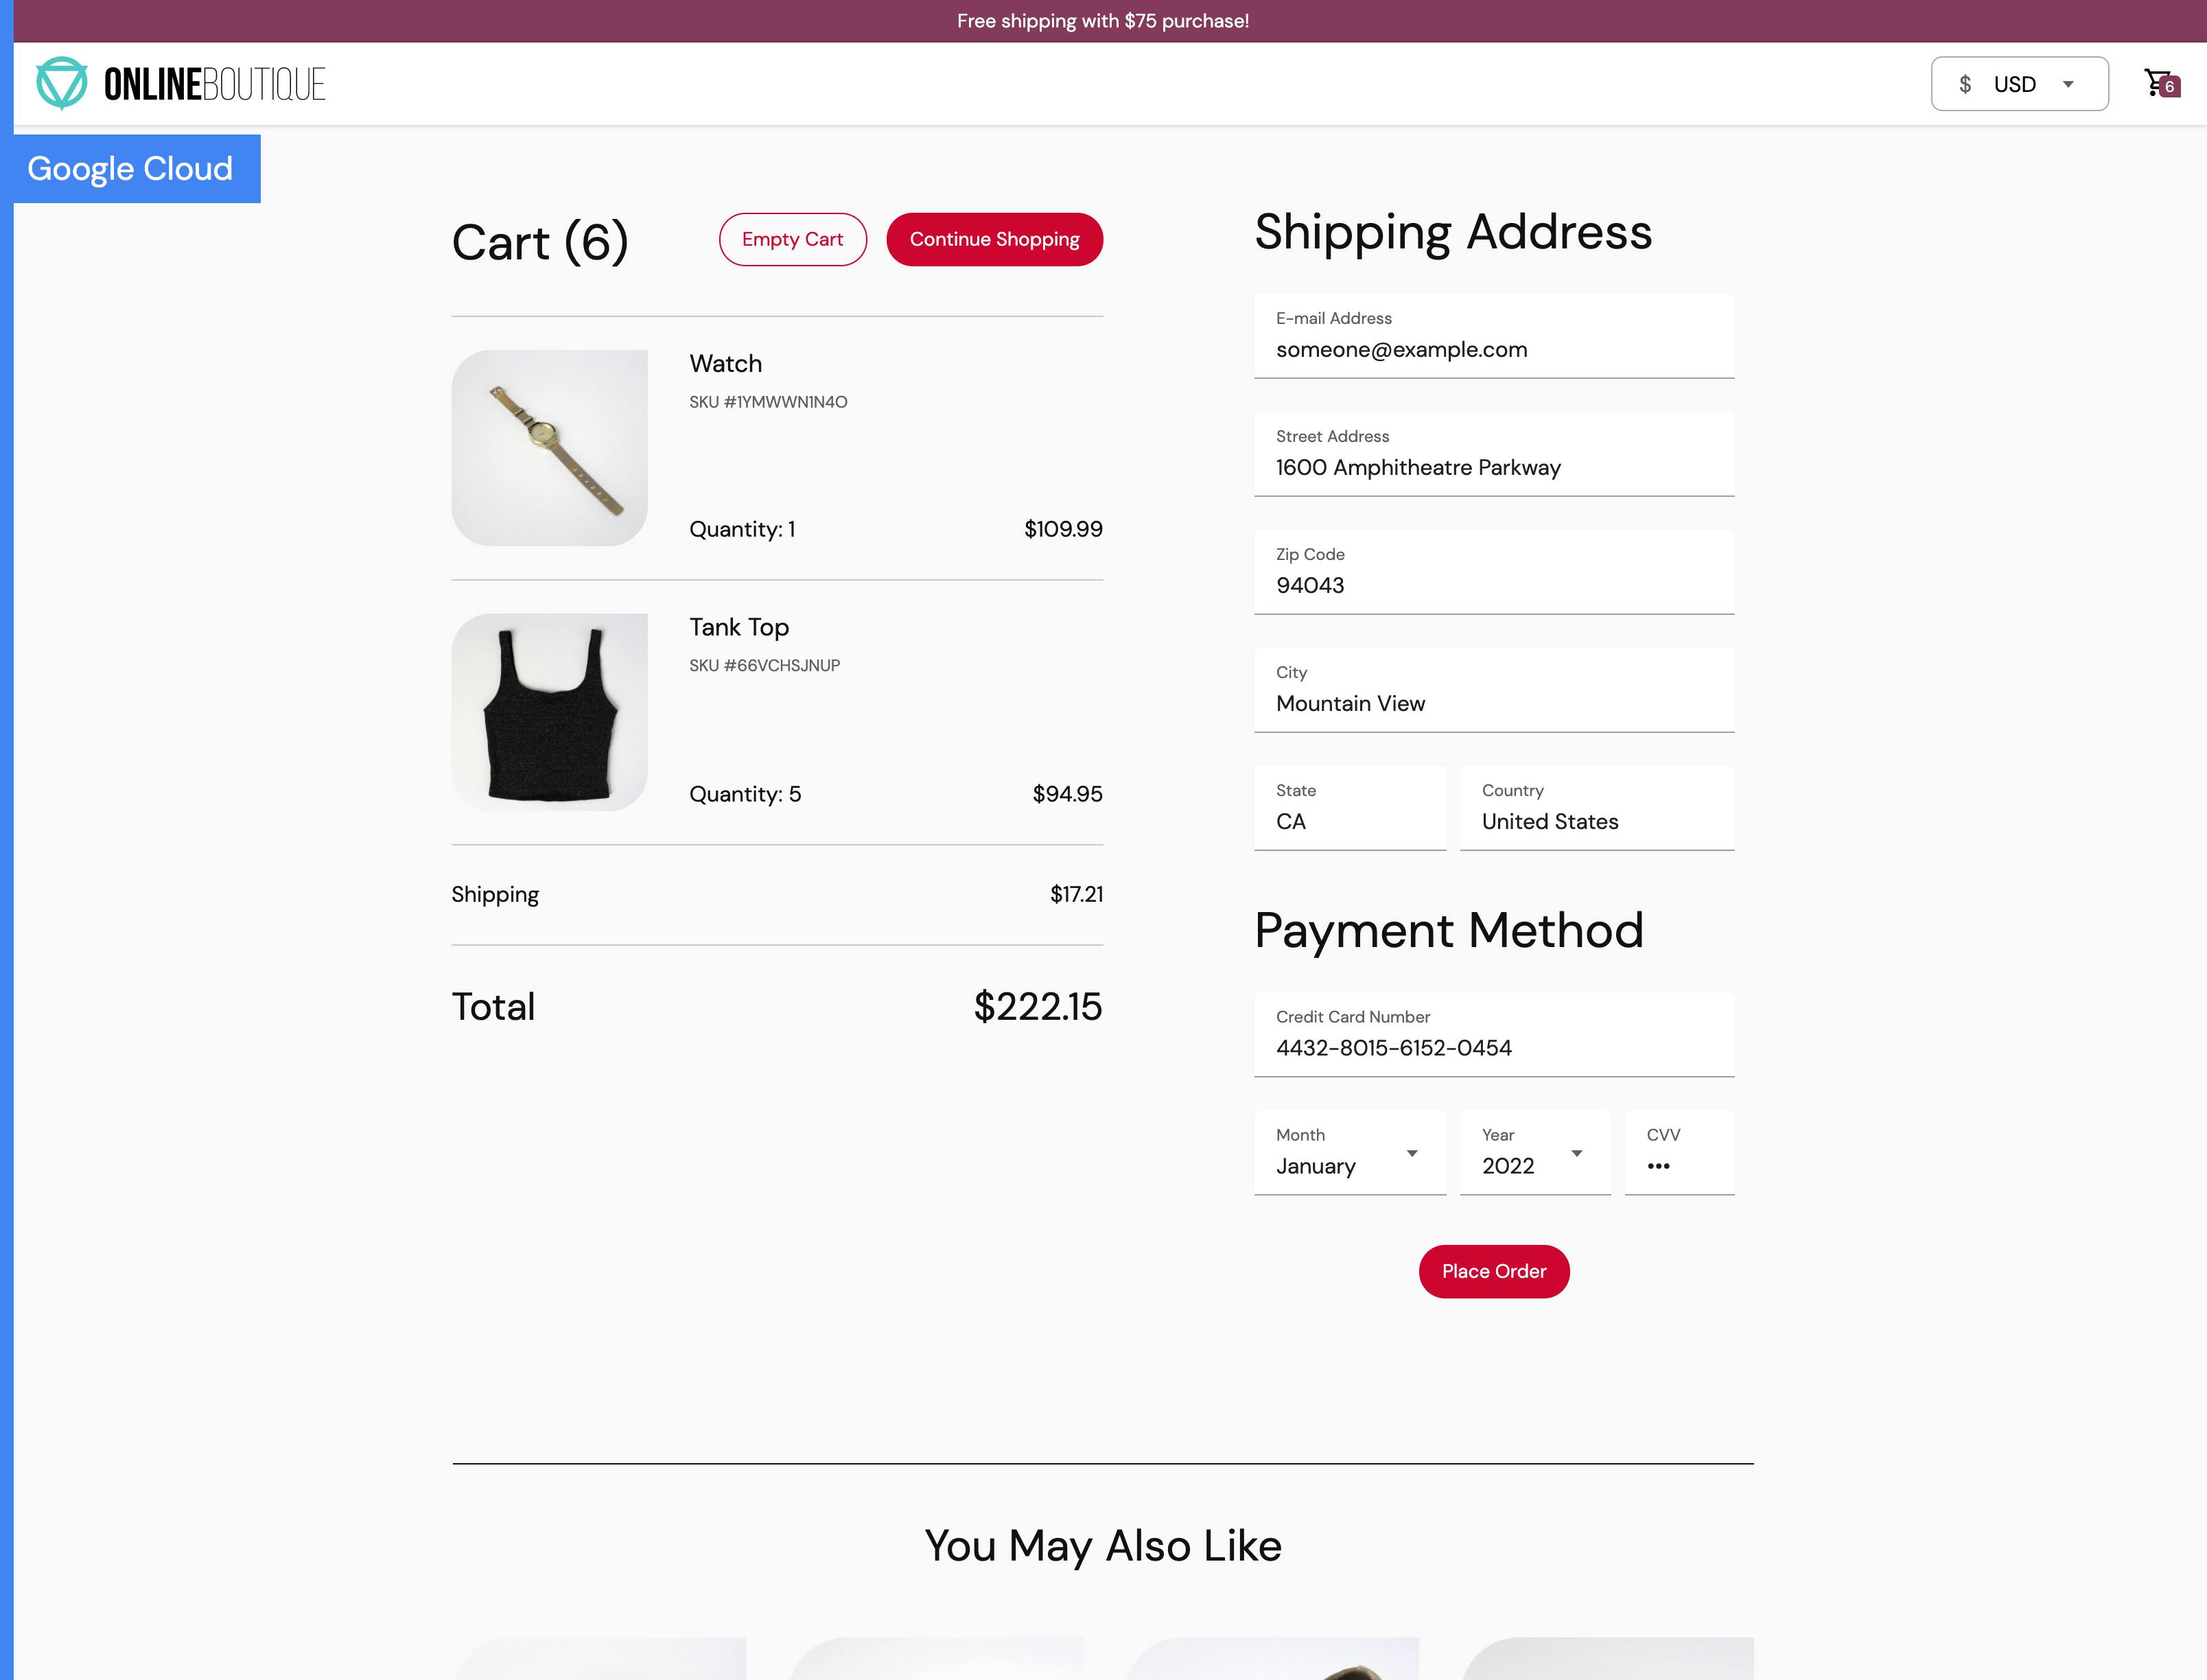
checkout page
!thank you ..! project is completed successfully 😃💥💕